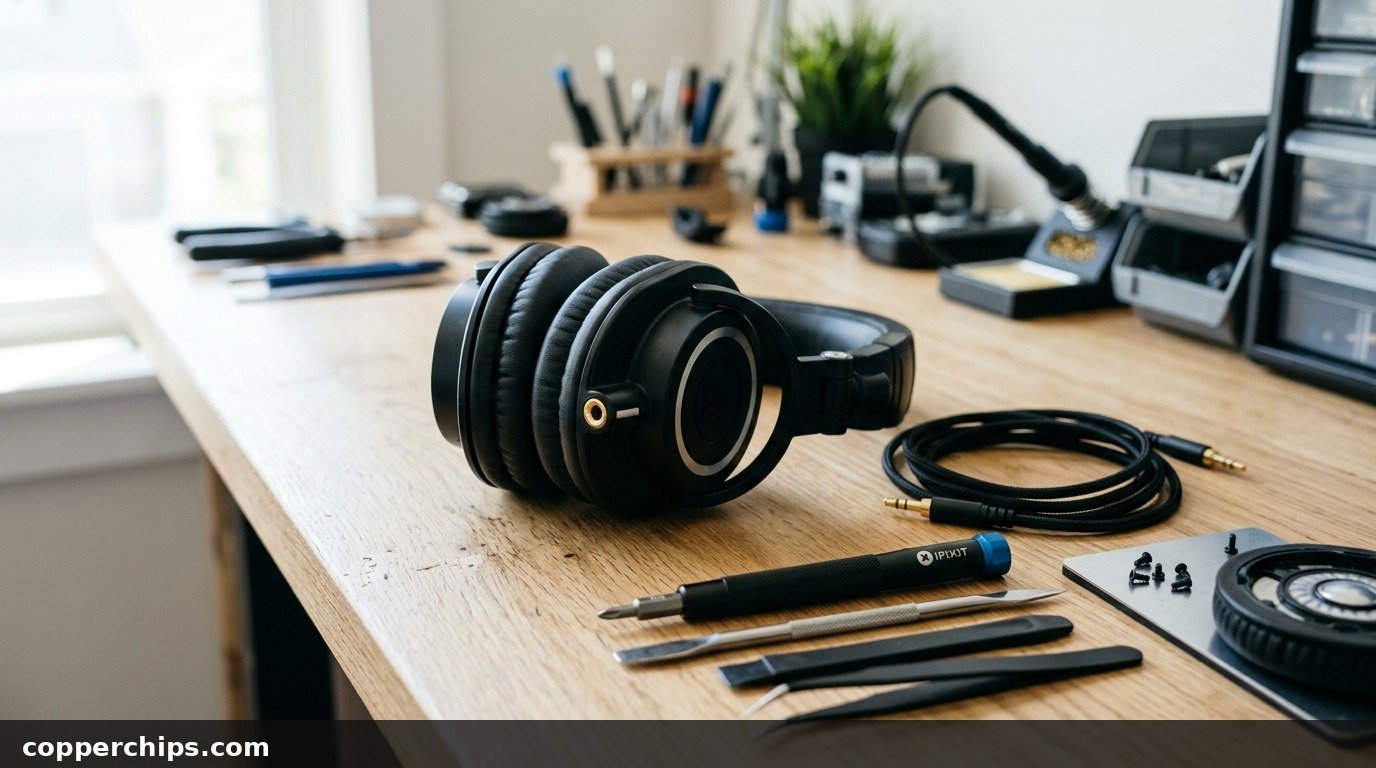
You plug your headphones into your laptop, console controller, or smartphone, hit play on your favorite track, and half the music vanishes. Hearing instruments and vocals through only the left or right ear cup ruins the entire listening experience. Most people assume the internal speaker driver died and toss their favorite pair straight into the trash. In reality, modern headphone speaker drivers rarely blow out under normal listening volumes. If you want to know how to repair headphones when audio cuts out on one side, the fault almost always traces back to an off-center operating system balance slider, compacted socket lint, or a broken copper wire inside the flexible strain relief boot. You can diagnose and resolve most of these issues at your desk in under ten minutes.
To fix headphones that only play sound in one ear, first isolate the cause using the 30-second wiggle test: play audio and gently bend the cable directly behind the 3.5mm plug and where the wire enters the ear cup. If sound crackles back to life, the internal copper wire has snapped inside the rubber strain relief collar, which you can splice or reinforce with heat shrink tubing. If wiggling produces no audio change, check your device sound balance settings in Windows (Sound Properties > Levels > Balance) or macOS (System Settings > Sound > Output Balance) to re-center the stereo slider, and clean compacted pocket lint from the 3.5mm audio jack using a wooden toothpick moistened with 90% isopropyl alcohol.
- ✓Drivers Rarely Die: Over 90 percent of single-ear audio failures stem from physical cable fatigue or software balance shifts rather than a blown speaker driver.
- ✓Channel Pin Architecture: The pointed tip of a 3.5mm plug carries the Left channel, while the first adjacent ring carries the Right channel.
- ✓The 30-Second Wiggle Test: Flexing the cable near the molded rubber plug isolates whether copper strands have fractured inside the insulation sleeve.
Why Headphones Stop Working in One Ear
Understanding how analog stereo audio travels from your playback device to your ears makes troubleshooting straightforward. Standard wired headphones use a 3.5mm audio jack based on TRS (Tip, Ring, Sleeve) or TRRS (Tip, Ring, Ring, Sleeve) geometry. The very tip of the metal plug delivers the left audio channel signal. The adjacent metal ring delivers the right audio channel signal. The remaining metal band acts as the electrical ground return that completes the circuit for both channels.
Inside the headphone cable, tiny enameled copper wires thinner than human hair carry millivolts of electrical current to the neodymium magnets inside the speaker drivers. Because portable headphones get crammed into pockets, wrapped tightly around phones, and jerked sideways when catching on doorknobs, mechanical tension concentrates at two specific pivot points. The primary failure point is the rubber strain relief boot right behind the 3.5mm plug. The secondary failure point is the entry collar where the wire feeds directly into the plastic ear cup housing.
Repeated bending causes metal fatigue. Eventually, the microscopic copper strands snap inside their rubber jacket while the outer rubber casing remains completely intact. When the Left or Right signal wire snaps, audio to that specific ear cup drops out instantly. When the common ground wire snaps, sound often continues playing as a bizarre, hollow acoustic echo where center vocals disappear entirely.
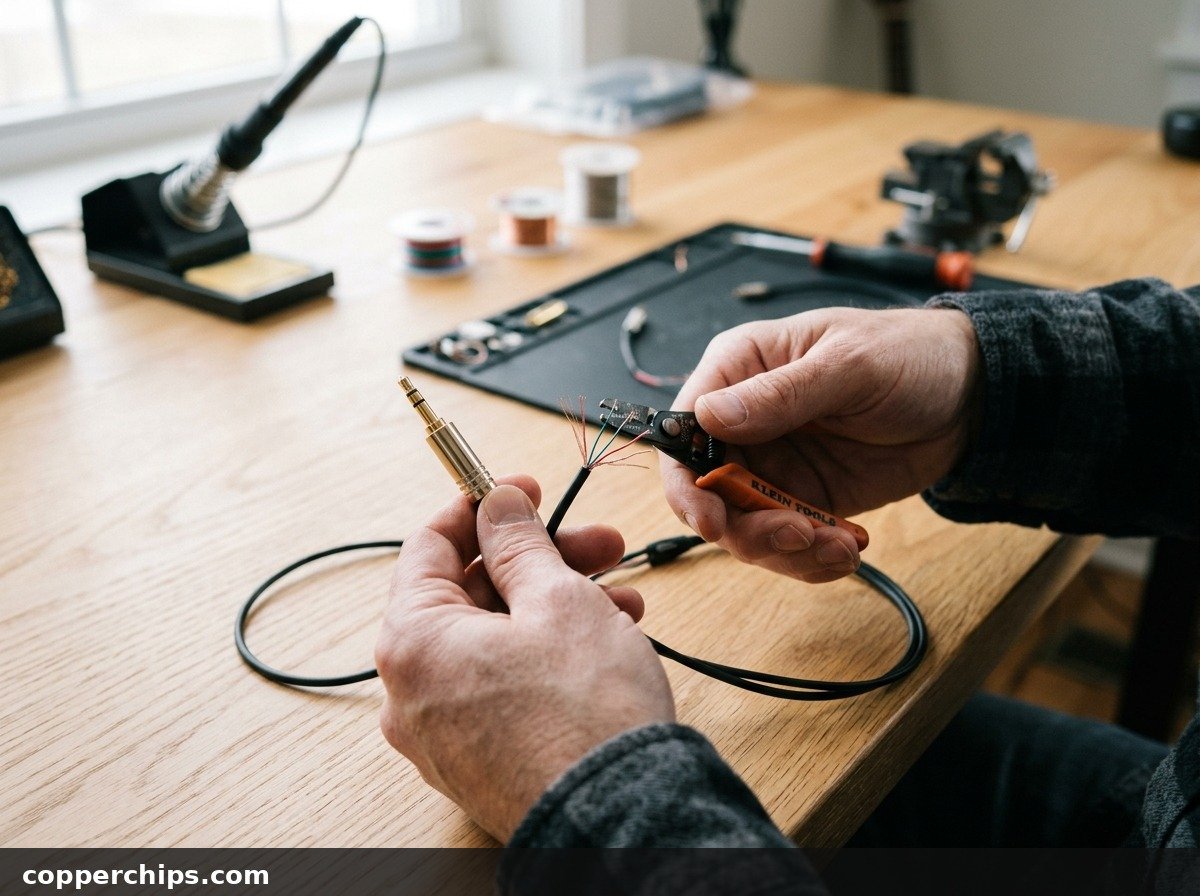
How to Repair Headphones: 7 Proven Fixes
Work through these solutions in sequence. We begin with zero-tool operating system balance calibrations, proceed through physical jack cleaning, and conclude with mechanical cable splicing and plug replacement.
Fix 1: Isolate the Hardware with the 30-Second Wiggle Test
Flexing your headphone cable at common stress points confirms whether you are dealing with a broken physical wire or a software glitch.
- Plug your headphones into your computer or phone and start playing a continuous audio track or podcast.
- Set the volume to a moderate level so you can easily detect faint crackles or sudden bursts of sound.
- Grasp the thick molded rubber strain relief collar directly behind the 3.5mm audio jack.
- Slowly bend the wire back and forth at a 90-degree angle while rotating the jack slightly inside the socket.
- If the dead ear cup suddenly crackles, plays audio for a split second, or cuts back out, the copper wire has severed inside that rubber collar. Proceed directly to Fix 5 or Fix 6.
- If wiggling the plug produces no audio change, slide your fingers up the cord to the ear cup entry grommet and bend the wire there.
If sound never crackles or reappears during physical flexing, your physical wiring is likely intact. The issue is typically an operating system audio balance lock or socket debris.
Fix 2: Re-Center Operating System Audio Balance Sliders
Operating systems frequently shift the master stereo balance slider to 100 percent Left or 100 percent Right due to volume control hotkey glitches or audio software conflicts. When this happens, the silent ear cup receives zero electrical signal from the sound card.
- On Windows 11 and Windows 10:
- Press Windows Key + R, type mmsys.cpl, and press Enter to launch the classic Sound Control Panel.
- Under the Playback tab, click on your active headphones and click Properties in the bottom right corner.
- Click on the Levels tab at the top of the properties window.
- Click the Balance button next to the master output slider.
- Verify that both the L (Left) and R (Right) channel sliders sit at the identical number (such as 50 and 50, or 100 and 100). If one channel sits at 0, drag it back to match.
- On Apple macOS:
- Open the Apple menu and select System Settings.
- Click on Sound in the left sidebar and select the Output tab.
- Look at the horizontal Balance slider below the device list. If the indicator pin is pulled toward one side, drag it firmly back to the exact physical center.
For additional system sound troubleshooting steps, reference the official operating system guidelines documented in the Microsoft official audio balance and sound troubleshooting documentation. If you are configuring an Apple computer, review the detailed configuration options outlined in the Apple official Mac sound balance and output configuration documentation.
Fix 3: Disable Accessibility Mono Audio Mismatches
Accessibility hearing assistance profiles on smartphones and PCs can downmix or mute individual stereo channels when configured incorrectly.
- On Android: Open Settings > Accessibility > Audio and on-screen text. Check the Audio balance slider to ensure it rests centered. If the balance slider is biased, drag it to center. Reference the official configuration guide in the Google Android official audio balance and mono sound settings documentation.
- On iPhone: Navigate to Settings > Accessibility > Audio & Visual. Scroll down to the horizontal slider labeled Balance (marked with L and R). Make sure the pointer is placed directly in the middle.
- Toggle Mono Audio off and on once. Toggling mono audio forces the mobile audio engine to refresh channel routing across connected wired and wireless accessories.
Re-centering these mobile accessibility sliders immediately restores stereo output if an accidental swipe altered your channel balance.
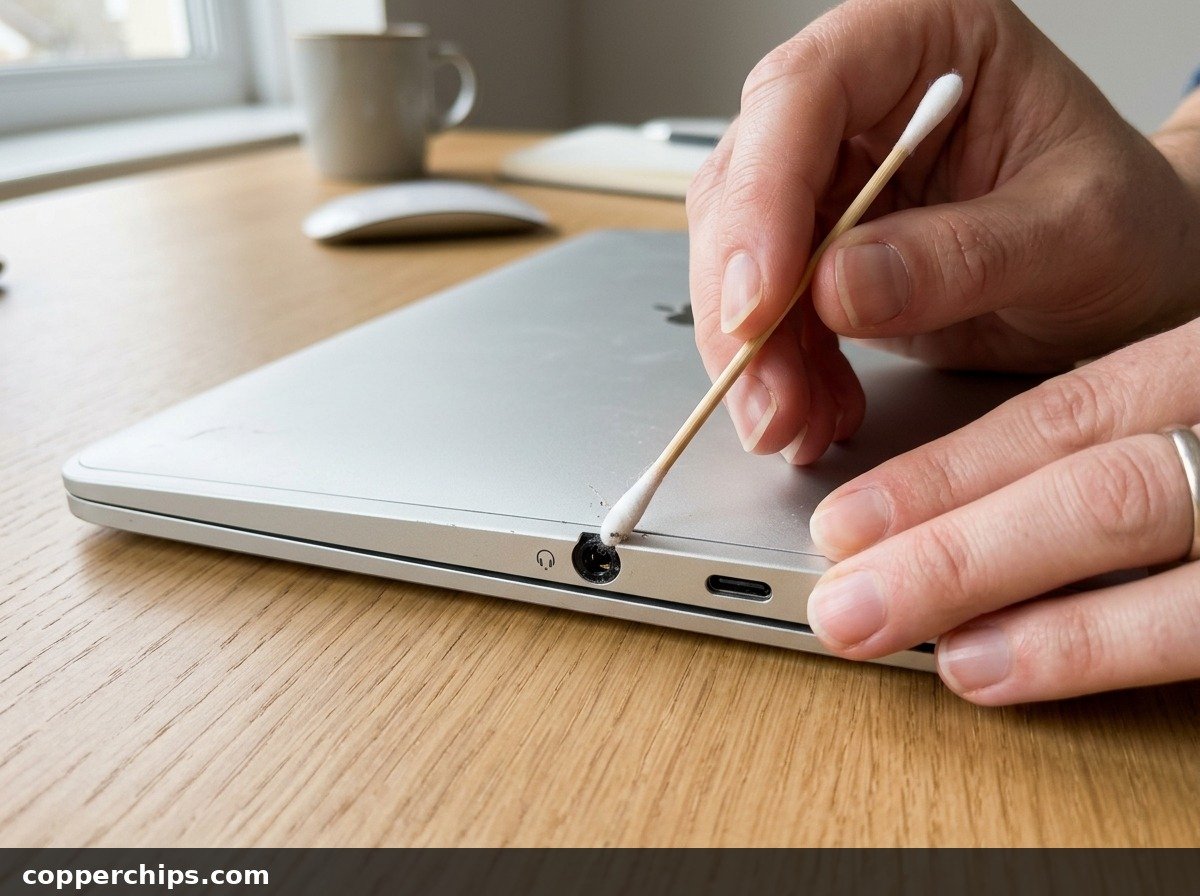
Fix 4: Clean Compacted Lint and Debris from the Audio Socket
A dense plug of compressed pocket lint inside a phone or laptop 3.5mm audio port prevents the headphone plug from seating completely. If the jack sits even half a millimeter too far out, the internal spring contact for the Right channel lands on the insulating plastic ring instead of the metal conductor.
- Shine a bright flashlight directly into your phone, laptop, or controller headphone socket.
- Look for a fuzzy grey or black layer of compacted pocket lint at the very bottom of the cylindrical port.
- Take a clean wooden toothpick. Carefully whittle the tip with a small craft knife so it is thin and flat. Never use metal sewing needles or paperclips, as conductive metal tools can short-circuit internal board contacts.
- Insert the wooden toothpick gently into the socket, scrape around the outer perimeter at the bottom, and scoop the debris outward.
- Moisten a micro cleaning swab with a single drop of 90 percent or higher isopropyl alcohol. Wipe the interior barrel to remove oxidized grime, then allow the port to dry for two minutes.
Fix 5: Apply the Splint and Heat Shrink Tubing Temporary Fix
If your wiggle test confirmed a broken wire right at the plug neck, you can stabilize the connection without soldering using a structural splint. This repair bridges the fractured internal copper strands by locking them under mechanical pressure.
- Plug the headphones into your device and play audio.
- Bend the cable at the strain relief boot until you find the exact angle where both ear cups play crystal-clear audio.
- Hold the wire firmly at that exact working angle.
- Cut a small piece of a rigid plastic toothpick or paperclip roughly one inch long to serve as a reinforcing splint.
- Lay the rigid splint along the bent section of cable to prevent the wire from flexing out of contact.
- Wrap high-grade electrical tape tightly around the splint and the plug collar, pulling tension on each wrap.
- Slide a length of 3:1 adhesive-lined heat shrink tubing over the taped joint and shrink it down with a household hair dryer.
While this mechanical splint is not a permanent factory restoration, it stabilizes the broken copper core and keeps budget headphones functional for months of desk listening.
Fix 6: Solder a Replacement 3.5mm Screw-On or Metal Audio Plug
Replacing a damaged molded plastic plug with a metal solder-on 3.5mm audio jack delivers a permanent, professional repair that lasts for years. You can purchase replacement 3.5mm stereo jacks online for under five dollars.
- Use wire cutters to snip the headphone cable approximately one inch above the damaged rubber strain relief collar. Discard the old factory molded plug.
- Unscrew the metal outer barrel of your new replacement 3.5mm jack and slide it onto the headphone cable first. Do not forget this step, or you will not be able to close the plug after soldering.
- Slide a small piece of heat shrink tubing onto the wire behind the metal barrel.
- Carefully strip back roughly one inch of the outer rubber cable jacket to expose the color-coded internal wires.
- Inside the cable, you will find three or four fine enameled wires:
- Blue or Green wire: Left Audio Channel (solders to the short center pin connected to the Tip).
- Red wire: Right Audio Channel (solders to the intermediate tab connected to the Ring).
- Bare Copper or Striped wire: Ground (solders to the long outer sleeve crimp tab).
- Burn off the colored insulating lacquer from the tips of the copper wires using the flame of a lighter for two seconds, then wipe away soot with fine sandpaper.
- Tin the bare copper tips with a small drop of electrical solder.
- Solder the Left wire to the Tip tab, the Right wire to the Ring tab, and the Ground wire to the Sleeve tab.
- Crimp the metal strain relief wings tightly around the outer cable jacket using needle-nose pliers.
- Screw the metal housing firmly back over the plug assembly.
Replacing the plug restores full analog audio fidelity with zero crackling or channel dropping.
Fix 7: Re-Pair and Reset Wireless Headphones or Earbuds
For Bluetooth headphones and wireless earbuds where one side goes silent, the issue is almost always True Wireless Stereo (TWS) desynchronization rather than a broken wire.
- Place both wireless earbuds back into their charging case and close the lid for 30 seconds.
- Check that both earbuds light up their charging indicators. If the silent earbud has dead battery, clean its charging pin contacts.
- Open your phone Bluetooth settings, locate your headphones in the paired device list, and tap Forget Device.
- Perform a hardware factory reset on the headphones. On most wireless models (such as Sony, Bose, or Beats), hold the power button down for 15 to 20 seconds until the LED flashes red or blue.
- Reopen the charging case next to your phone and establish a completely fresh Bluetooth connection.
Factory resetting recalibrates the left-to-right wireless sync protocol, restoring stereo output across both channels.
Still Not Working? Try This
If you have verified operating system balance sliders, cleaned the 3.5mm port, and tested a fresh audio plug, but one side remains completely silent, you must inspect the internal voice coil inside the ear cup.
Using a digital multimeter set to the lowest resistance mode (200 Ohms), touch the black multimeter probe to the Sleeve (ground) contact of your headphone plug. Touch the red probe to the Tip (left channel) and observe the resistance reading on the digital display. A healthy headphone driver will show between 16 and 64 Ohms of resistance. Next, touch the red probe to the Ring (right channel). If the multimeter displays an open circuit reading (“OL” or “1”), the electrical circuit is physically broken.
If the reading shows an open circuit despite installing a brand new plug, the microscopic voice coil wire soldered directly to the speaker diaphragm inside the ear cup has detached. On premium over-ear headphones, you can pop off the foam ear cushion, remove three small Phillips screws holding the baffle plate, and inspect the speaker solder pads. In many cases, resoldering the detached copper wire to the speaker terminal brings the silent driver back to life instantly.
If the voice coil itself has melted or burned out from high-power amplifier overloading, the speaker driver cannot be repaired. At that stage, look online for a matching replacement driver capsule (such as 40mm or 50mm dynamic driver units) and solder the new driver into your existing headphone frame.
Frequently Asked Questions
Why do headphones stop working in one ear?
Headphones typically stop working in one ear because the fine copper wire inside the cable has snapped right behind the 3.5mm audio jack due to repeated bending. Other common culprits include pocket lint packed into the audio socket, oxidized contact pins, or an operating system sound balance slider shifted entirely to one side.
Can you fix headphones with sound in one ear without soldering?
Yes. If the issue is caused by operating system balance settings or pocket lint inside the audio socket, no tools are required. If an internal wire is broken, you can perform a temporary repair by bending the cable to find the working angle and securing it with a rigid plastic splint and electrical tape or heat shrink tubing.
Which part of the 3.5mm headphone jack controls the left and right ear?
On a standard 3.5mm audio plug, the pointed Tip delivers the Left audio channel. The middle metal band called the Ring delivers the Right audio channel. The bottom base section called the Sleeve acts as the common electrical ground return for both channels.
How do you know if a headphone speaker driver is blown?
A blown speaker driver produces severe mechanical distortion, buzzing on bass frequencies, or zero sound at all volume levels. You can test driver health with a digital multimeter. A functioning driver typically measures between 16 and 64 Ohms of resistance across its terminals, while a blown voice coil shows an open circuit.
How do I fix wireless earbuds when only one side plays sound?
Place both earbuds back into their charging case to ensure the silent side is receiving power. Next, open your phone Bluetooth menu, choose Forget This Device, and execute a factory reset on your earbuds by holding down their touch sensors or case button for 15 seconds. Finally, re-pair the earbuds to your phone to re-sync the stereo audio channels.
The Bottom Line
A pair of headphones that only plays sound in one ear is rarely ready for the garbage can. Before replacing your gear, always isolate the problem using the 30-second wiggle test and inspect your computer stereo balance sliders. Clearing pocket lint from audio ports and adjusting accessibility settings solves the problem in many households without spending a dime. For broken copper wires, a simple splice or replacement solder-on metal jack restores full stereo listening for years to come.
If you are troubleshooting other audio and connectivity hardware in your home, explore our dedicated guides on resolving Bluetooth connected but no sound issues, maintaining battery contacts when only one AirPod is charging, or fixing peripheral communication problems when your USB-C hub is not detecting external monitors. You can also explore our complete Device Fixes troubleshooting hub for step-by-step consumer electronics repair guides.
- Outbound Authority: Microsoft official audio balance and sound troubleshooting
- Outbound Authority: Apple official Mac sound balance and output configuration documentation
- Outbound Authority: Google Android official audio balance and mono sound settings
- Internal Hub: Bluetooth connected but no sound fixes
- Internal Hub: only one AirPod is charging
- Internal Hub: USB-C hub is not detecting external monitors
- Internal Hub: Device Fixes troubleshooting hub