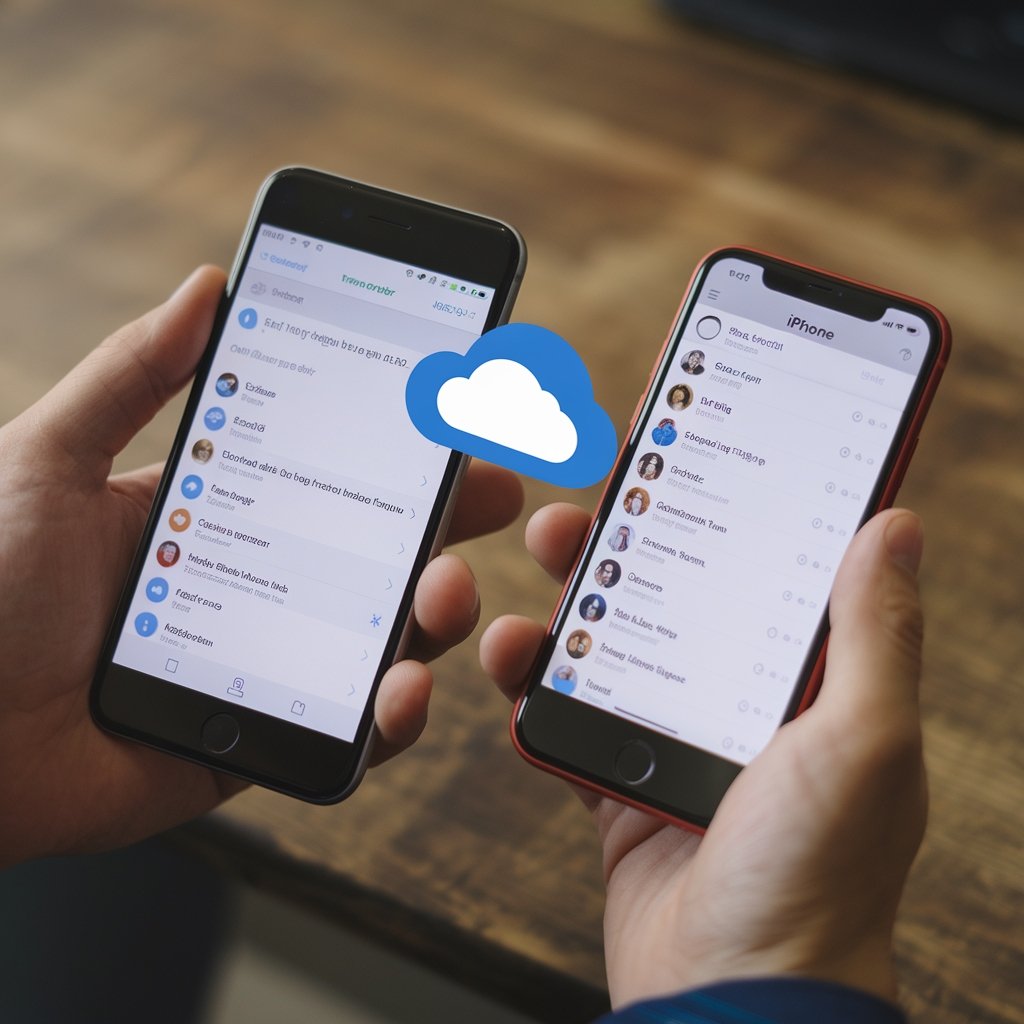
Switching from Android to iPhone is exciting, but moving contacts can seem daunting. Fortunately, there are efficient ways to transfer your contact list seamlessly. Whether you prefer a cloud-based solution or a direct transfer, How to Transfer Contacts from Android to iPhone, this guide outlines every step, ensuring a hassle-free experience. Follow along to explore various methods tailored to suit different needs.
Using Google Account to Transfer Contacts
Syncing contacts through a Google account is one of the simplest ways to transfer them. Here’s how it works:
- On Your Android Device:
- Navigate to Settings > Accounts.
- Select your Google account and ensure Contacts sync is enabled.
- On Your iPhone:
- Go to Settings > Mail > Accounts.
- Add the same Google account, then toggle Contacts sync.
Within moments, your contacts will appear on the iPhone, making this an efficient and hassle-free option.
Utilizing Apple’s Move to iOS App
The Move to iOS app, developed by Apple, streamlines the transfer process.
- Preparation:
- Transfer Process:
- During iPhone setup, choose the Move Data from Android option.
- Enter the code displayed on the iPhone into the Android app.
- Select Contacts to transfer and complete the process.
This method is particularly useful for first-time iPhone users.
Learn about the Custom Android App Development Process.
Manual Transfer via VCF File

For those who prefer control over the process, exporting contacts as a VCF file is ideal.
- Export Contacts on Android:
- Open the Contacts app.
- Select Export to VCF file. Save the file to your device.
- Import to iPhone:
- Email the VCF file to yourself and open it on the iPhone.
- Tap on the file, then choose Add All Contacts.
This manual method is both reliable and straightforward.
Using Third-Party Apps for Transfers
Several apps facilitate contact transfers between Android and iPhone:
- My Contacts Backup: Export contacts as a VCF file and email it to yourself.
- Copy My Data: A user-friendly app that transfers contacts via Wi-Fi.
These apps are especially useful for users seeking additional flexibility.
Transferring Contacts with a SIM Card
If your contacts are saved on the SIM card, transferring them is another viable option.
- Save Contacts to SIM on Android:
- Open Contacts, then choose Export to SIM.
- Insert SIM into iPhone:
- Navigate to Settings > Contacts > Import SIM Contacts.
Though less common, this method remains an effective solution for smaller contact lists.
Cloud Storage Solutions
Cloud storage services such as Dropbox or Google Drive can also aid in transferring contacts:
- Export your Android contacts as a file and upload it to the cloud.
- Download the file on your iPhone and import the contacts.
This method works well for users who frequently use cloud-based systems.
Troubleshooting Common Issues
Despite following the steps, users may encounter challenges:
- Contacts Not Showing Up: Ensure sync settings are enabled on both devices.
- Duplicate Contacts: Use a merge tool available in most contact management apps.
- Incomplete Transfers: Verify that your internet connection is stable during the process.
Learn How to Screenshot on Chromebook with our Guide.
Best Practices for Seamless Contact Transfer
To avoid hiccups during the transfer, consider these tips:
- Back up your contacts on both devices before starting.
- Ensure both devices are fully charged.
- Double-check sync settings and permissions.
By preparing in advance, you can ensure a smooth transition.
Learning how to transfer contacts from Android to iPhone doesn’t have to be a daunting task. From using cloud services to Apple’s Move to iOS app, a range of options is available to meet your needs. By following this guide, you can transfer your contact list easily and begin enjoying your new device right away.


