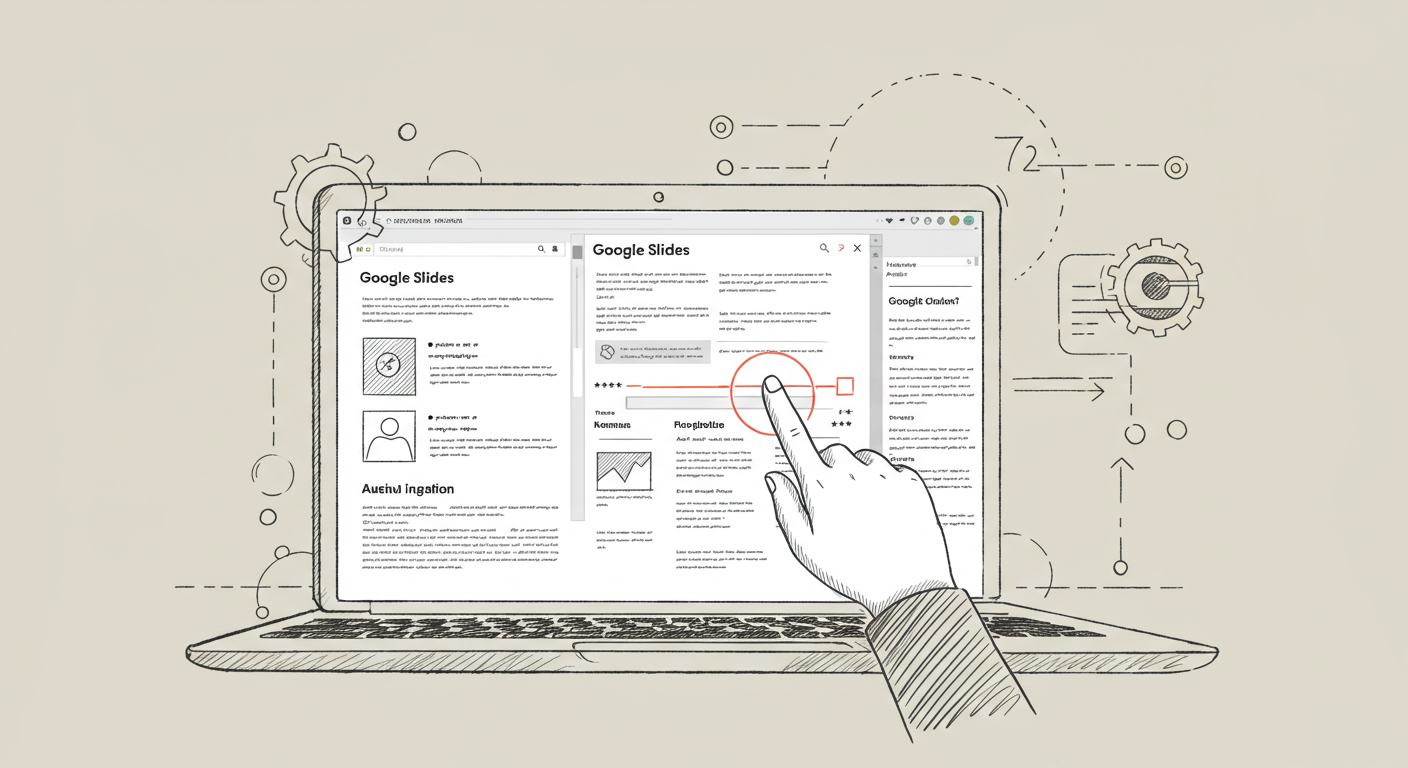
Learning to automate making educational Google Slides for assignments can be immensely helpful. Creating slides for each lesson or training session can be tiring. Teachers and trainers often repeat the same work. Making each slide look good and useful takes time and effort. The situation typically results in the wastage of time and resources.
But now, with tools like Google Apps Script, AI, and TeraBox, you can save hours. These tools help make slides automatically. Hence, you get more time to spend on creative tasks rather than on repetitive work.
Explore how you can use these tools to create better slides faster, if you are a teacher or student.
Why Automate Google Slides for Assignments?
Here are all the possible reasons why Google Slides for assignments is a perfect choice for automating your assignments:
1. Save Time
Creating slides manually is a very hectic task. You first have to research the topic, shorten it, and then manually put it into the slides, which can be tiring. However, with automation, you can get it done in seconds. Just type the topic and let AI do the rest for you. As a result, you get more time to teach or relax.
2. Boost Student Interest
AI tools often incorporate clean layouts, images, and intelligent design. As a result, the slides you get have more information with an enhanced aesthetic appeal, thus, leading to a better focus for students and an enhanced understanding of the topic.
3. Make Remote Sharing Easy
Using artificially intelligent tools like TeraBox, you can upload the slides to the cloud storage system and share them with students in real-time.
This saves you from the hassle of printing or sending heavy files through email with just a simple link, and it’s done. Furthermore, it also keeps the space of your device free.
Tools to Automate Google Slides Creation
There are many tools to help you automate Google Slides. Let’s look at a few of them:
1. TeraBox
TeraBox is a cloud storage tool which aims to provide an expandable storage to all the users for free. But it also helps with organizing and sharing your slides. You can store your slide templates and generate slides in one place. It’s easy to share them with students, too.
Key Features:
- Stores large numbers of slide decks in one organized cloud folder.
- Shares files using simple links with a password and expiry options.
- Access to your saved slides from desktop, tablet, or mobile anytime.
- You can create different folders for better organization.
Pros:
- Free cloud space up to 1 TB.
- Quick and easy file sharing.
- Works across all major devices.
Cons:
- Limited offline access.
- Ads in free version.
- No built-in slide editor.
2. Google Apps Script
Google Apps Script is a free tool from Google. It helps you write simple code to create slides. You can set it up once, and it will make slides for you whenever you need them.
Key Features:
- Creates slides automatically without requiring any manual research.
- Customizes layout and style by writing short Google-based scripts.
- Allows you to reuse the same structure for making new slides.
Pros:
- Free to use with a Google account.
- Works seamlessly within the Google ecosystem.
Cons:
- Requires basic programming knowledge to use properly.
- Time-consuming to write or edit complex scripts.
3. Canva
Canva is essentially a design tool that helps in making slides as well. You can enter your topic, and Canva will suggest layouts, images, and even content to accompany it. Once done, you can export your slides directly to Google Slides.
Key Features:
- Access to thousands of professional slide templates across all subjects.
- Allows to add animations, icons, and images.
- Exports designs to Google Slides, PowerPoint, or as a PDF file.
Pros:
- Stunning visual results in minutes.
- Offers a strong free version.
Cons:
- Limited features in offline mode.
- Premium templates require a subscription.
4. MagicSlides AI
MagicSlides AI is a tool made to generate slides with just a few clicks. Enter a topic, and it builds the full presentation. It’s fast, great and ideal for beginners.
Key Features:
- Instantly generates presentations from just a few topic keywords.
- Automatically adds title, bullet points, and summaries to each slide.
- Provides export options to Google Slides and PowerPoint formats.
Pros:
- Very fast and convenient slide creation.
- Requires no design or writing experience.
- Great for quick drafts and idea development.
Cons:
- Customization options are a bit limited.
- Limited slide styles in the free version.
- AI text sometimes needs manual rewriting.
5. AI Writing Tools (like ChatGPT)
AI writing tools like ChatGPT and other writing assistants can help generate clear, creative, and structured slide content for assignments based on your input.
Key Features:
- Rephrases complex text into simple, student-friendly explanations.
- Brainstorm lesson titles, fun facts, or quiz questions quickly.
Pros:
- Speeds up the writing part of slide creation.
- Helpful for breaking down difficult topics.
Cons:
- May miss context in very subject-specific topics.
- Lacks in AI-backed PowerPoint output.
Step-by-Step Guide: Automating Assignment Slides with TeraBox
TeraBox has eased the slide-making process like never before. Here is a step-by-step guide on how you can automate assignment slides using TeraBox AI presentation maker:
Step 1: Visit the Site
First, visit the site of TeraBox and find the menu bar located on the left side of the screen. From here, tap on the AI Presentation Maker.
Step 2: Describe Your Idea
Now, the site will redirect you to the presentation maker of TeraBox. Here, a search bar is present. Use it to describe your idea. Input all of your requirements.
You can be as precise or as detailed as you want. Next, select the number of slides you want TeraBox to create for you, along with the language you prefer for the presentation.
Once done, click on “Continue”.
Step 3: Tailor the Outline
The software will first make an outline relevant to the topic. Look at it very carefully and read all the points. If you want to make any adjustments, this is the time to do that. Modify the outline as needed and click “Generate Presentation” when you are satisfied.
Step 4: Choose a Theme
The aesthetics of the slides are equally important as their content. Hence, take a moment in this step to analyze and decide the final color scheme and aesthetics of your AI presentation.
Once done, click on “Start Generating”.
Step 5: Download and Save
Lastly, the system will consume a few minutes to make the slides for you. So, be patient. Once that is done, cross-check for accuracy. You can download your presentation in your device or upload at TeraBox for future access via the buttons present on the bottom right corner of the screen.
Best Practices for Automated Educational Slides
Here are some of the best practices you can consider to ensure efficient results from the slide automation.
1. Be Concise
The main aim of slides is to deliver more through the lesser amount of content. It’s not a book. Never add too much content to your slides. Avoid adding long paragraphs and focus more on the bullet points. Furthermore, use simple layouts and lots of white space.
2. Use Engaging Visuals
Slides with only written information can be immensely boring and hectic to look at. This is why you should try explaining your content through images, symbols, and icons. For instance, you can use a bar graph to discuss growth or a frequency distribution table to emphasize your target market.
3. Use Large and Readable Fonts
Paying attention to readability and fonts is also crucial. Be smart, and always use a readable format. That means, instead of writing content with yellow color on a pink base, use black color for the content and a white background. In addition, ensure that the size and style of fonts is easily visible and readable.
FAQs
1. Can I fully automate my assignment slides without knowing how to code?
Of course, you can. There are a large number of tools available, like Canva, MagicSlides, and TeraBox, which help you create slides on a wide variety of funny presentation ideas without requiring you to code. These are especially designed for common people’s usage, simple and fast.
2. Is it safe to store and share slides using TeraBox?
Yes, using TeraBox is completely safe and sound. The platform is a cloud storage service that helps you create multiple slides. Furthermore, you can also share these slides without knowing any coding skills. TeraBox puts its customers’ priority in the first place. Hence, none of the information is shared with any third-party application, ensuring complete security.
3. Will AI-generated slides be accurate and valuable for students?
AI tools are efficient for outlining and design. Although they research very well, it is always a good idea to double-check the content before finalizing the slides. Hence, always fact-check the content through Google or another reliable platform to avoid potential issues in the long run.
Conclusion
Ultimately, AI is helping people across various industries, with education and teaching being no exception. Gone are the days when you had to put hours in manually designing the slides. Today, you can complete tasks in seconds using AI PPT makers like Google Slides, TeraBox etc.
In the guide above, we have discussed all the crucial information, including what slide automation is, best practices, top tools you can use, and a step-by-step guide to create slides with TeraBox in seconds. So, make sure to read the whole content from start to end thoroughly.


