


Transferring photos from one iPhone to another is essential when upgrading to a new device or sharing memories with someone else. Thankfully, Apple offers several seamless methods, ensuring your cherished moments are preserved. In this guide, you will learn step-by-step how to transfer photos from iPhone to iPhone. Whether you’re using iCloud, AirDrop, or a third-party app, we’ve got you covered.
Why Transferring Photos Is Important
Photos capture memories that are often irreplaceable. When transitioning to a new iPhone, leaving these photos behind is not an option for most people. Transferring ensures you retain access to these snapshots, whether they are for sentimental or professional purposes.
Using iCloud to Transfer Photos
Setting Up iCloud for Both Devices
iCloud is one of the easiest methods to transfer photos. Before starting, ensure that both iPhones are connected to Wi-Fi and have sufficient iCloud storage.
- On the source iPhone, open Settings.
- Tap your name and select iCloud.
- Toggle on Photos and ensure iCloud Photos is enabled.
- Repeat these steps on the receiving iPhone.
Syncing Photos Automatically
Once iCloud Photos is activated, your pictures will sync across devices automatically. This may take time, depending on your internet speed and the number of photos.
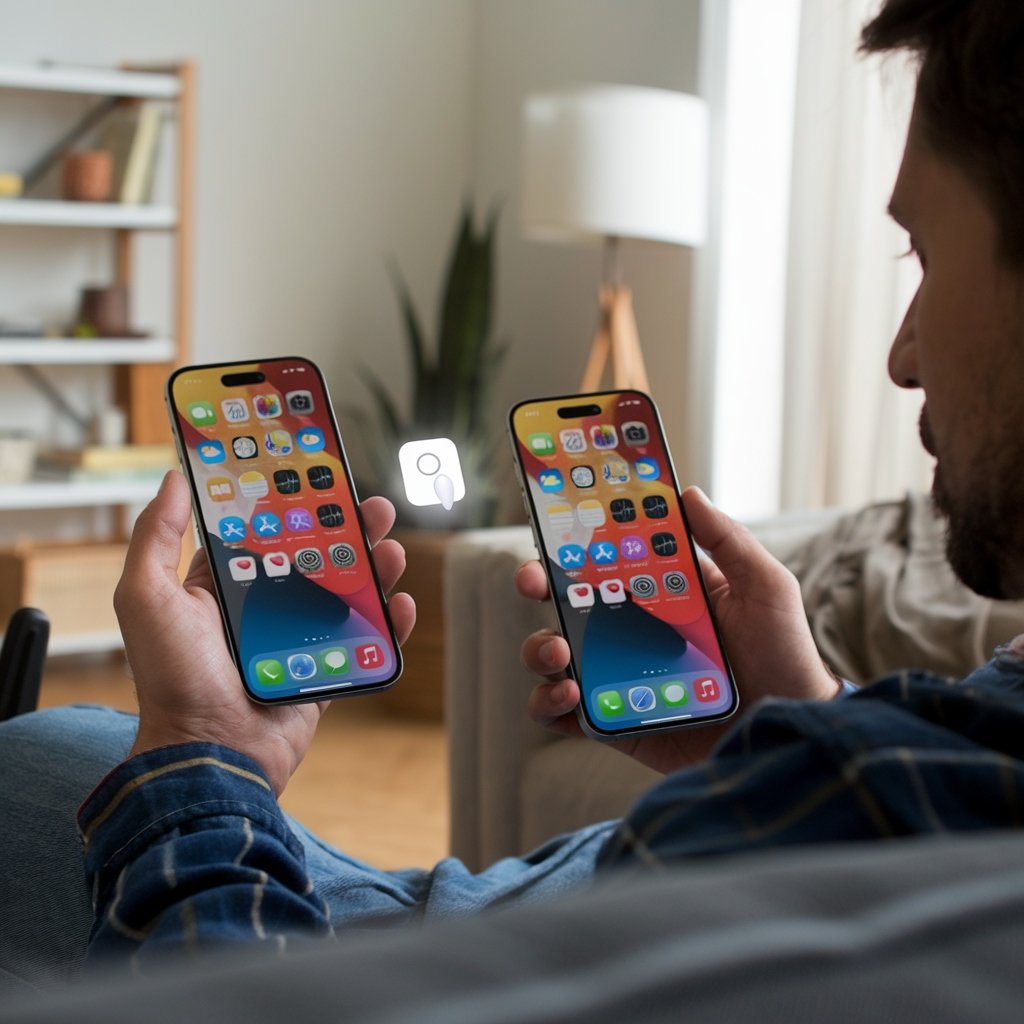
Transferring Photos via AirDrop
What Is AirDrop?
AirDrop allows quick and wireless file sharing between Apple devices. It’s perfect for transferring a small batch of photos.
Steps to Transfer Photos Using AirDrop
- Turn on AirDrop on both iPhones by swiping down and accessing the Control Center.
- Open the Photos app on the source iPhone and select the images to share.
- Tap the Share icon, choose AirDrop, and select the target iPhone.
- Accept the transfer on the receiving iPhone.
Using Quick Start for Complete Data Transfer

Activating Quick Start
Quick Start transfers all data, including photos, from an old iPhone to a new one. Here’s how to set it up:
- Place both iPhones close together.
- On the new iPhone, follow the setup prompts until you reach the Quick Start option.
- Use your old iPhone to scan the animation displayed on the new iPhone.
- Select Transfer from the iPhone, and the photos will move along with other data.
Troubleshooting Mobile Issues
While transferring photos, you might notice minor issues on your device, like a white dot on the screen. If this occurs, check out our detailed guide on how to fix the white dot on a mobile screen. It offers practical solutions for common mobile screen problems.
Transferring Photos Using iTunes
Steps to Transfer Photos with iTunes
iTunes is another option for moving photos, especially when iCloud isn’t available.
- Connect the source iPhone to your computer using a USB cable.
- Open iTunes and select the device.
- Click Photos and choose Sync Photos.
- Once synced, connect the new iPhone and repeat the process to transfer photos.
Sharing Photos via iMessage or Email
Sending Photos Through iMessage
For quick sharing, send photos directly through iMessage:
- Open the Photos app, select the pictures, and tap Share.
- Choose Message and enter the recipient’s phone number.
Emailing Photos
Email is another straightforward method, ideal for smaller batches of photos:
- Attach the photos to an email and send it to yourself or the recipient.
- Download the attachments on the receiving iPhone.
Using Third-Party Apps for Photo Transfer
Recommended Apps for Transfers
Apps like Google Photos, Dropbox, and Send Anywhere provide additional flexibility:
- Google Photos: Sync photos and access them on any device.
- Dropbox: Upload photos to a shared folder for easy downloading.
- Send Anywhere: Generate a unique code for secure transfers.
Transferring Photos Without Internet
Utilizing Local Transfer Options
When Wi-Fi is unavailable, options like AirDrop or third-party apps with local transfer features are recommended.
Best Practices for Photo Transfer
- Backup First: Always backup your photos to avoid accidental loss.
- Check Storage: Ensure sufficient space is available on the receiving iPhone.
- Organize Photos: Sort and delete unwanted photos to streamline the process.
Common Issues and How to Fix Them
Photos Not Syncing via iCloud
- Ensure both devices are connected to Wi-Fi.
- Confirm that iCloud storage is not full.
- Restart both iPhones and try again.
AirDrop Not Working
- Check that AirDrop is enabled on both devices.
- Move the devices closer together.
- Disable and re-enable AirDrop settings.
iTunes Sync Errors
- Update iTunes to the latest version.
- Use an Apple-certified USB cable.
- Restart your computer and try again.
Comparing Transfer Methods
| Method | Ease of Use | Speed | Requires Internet | Batch or Individual |
|---|---|---|---|---|
| iCloud | Easy | Moderate | Yes | Batch |
| AirDrop | Easy | Fast | No | Individual |
| Quick Start | Easy | Fast | No | Batch |
| iTunes | Moderate | Slow | No | Batch |
Advantages of Each Method
- iCloud: Best for long-term storage and automation.
- AirDrop: Ideal for quick, small transfers.
- Quick Start: Transfers all data seamlessly.
- iTunes: Reliable for offline transfers.
Related Guide: Transfer Contacts Too
If you’re switching devices and need to transfer more than just photos, check out our comprehensive guide on how to transfer contacts from Android to iPhone. This step-by-step resource ensures you can smoothly transition your data between devices.
Final Thoughts on Photo Transfers
Moving photos from one iPhone to another is straightforward when using the right method. Whether you prefer the convenience of iCloud, the speed of AirDrop, or the reliability of iTunes, the options cater to all needs. By following the steps outlined in this guide, your memories will remain safe and accessible.