You sit down on the couch to watch your favorite evening show, press the power button, and nothing happens. You tap the volume keys, aim directly at the television, and click harder. When you find your roku remote not working, your entertainment halts instantly. You do not need to order a replacement remote or toss your streaming stick into the trash just yet.
Most unresponsive remotes suffer from depleted batteries, oxidized contact springs, wireless network de-synchronization, or radio frequency interference from your television chassis. The exact solution depends directly on which type of remote control you hold. Once you identify whether your remote transmits infrared light beams or wireless radio signals, restoring full control takes only a few minutes.
To fix an unresponsive Roku remote, first check its type. For a Simple IR Remote, test the emitter using your smartphone camera and replace weak AAA batteries. For a Roku Voice Remote, perform a hard power drain by removing the batteries (or unplugging the USB charger on Pro models), unplugging your Roku player from wall power for sixty seconds, plugging the player back in, and holding the internal Pairing Button (or Back plus Home buttons) for five seconds until the status light flashes. If your streaming stick sits behind a television, attach an HDMI extender to eliminate radio frequency shielding interference.
- ✓Identify Remote Technology: Simple remotes use line-of-sight infrared beams, while Voice remotes communicate through Wi-Fi Direct radio signals.
- ✓The Power Drain Sequence: Unplugging the host Roku streaming player from wall power clears corrupted cache memory that blocks wireless handshakes.
- ✓Instant Virtual Backup: The official Roku mobile application on iOS and Android functions over local home Wi-Fi while you troubleshoot physical hardware.
Step 0: Identify Which Roku Remote You Own
Before testing individual troubleshooting steps, you must identify your specific remote model. Roku manufactures two distinct hardware designs that operate on completely different transmission technologies. Applying the wrong troubleshooting steps wastes time and causes unnecessary frustration.
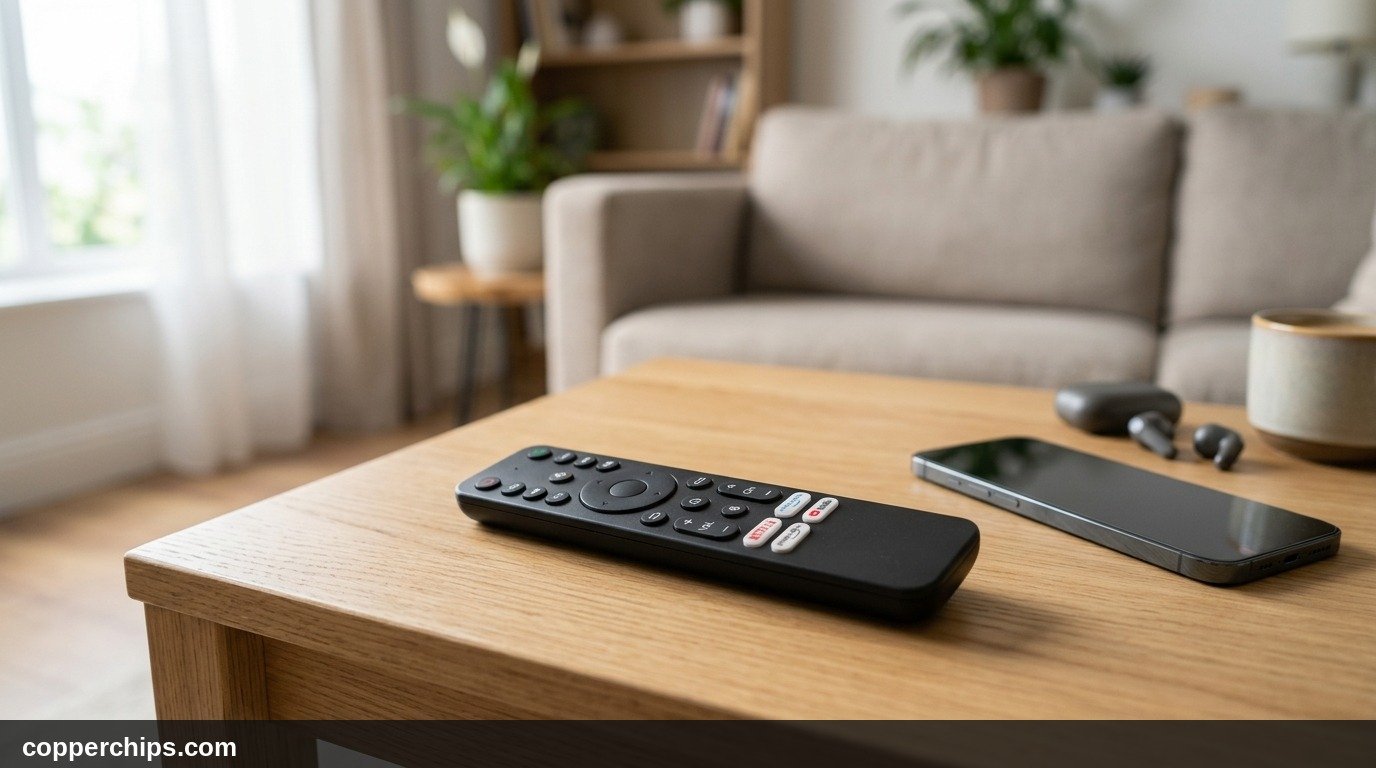
1. Roku Simple Remote (Infrared / IR): This model features standard navigation buttons but lacks a microphone or voice search button. It requires an unobstructed, direct line of sight to the infrared sensor on your Roku box or television. If a soundbar, picture frame, or decorative plant blocks the front panel of your television, signals cannot reach the receiver. Simple remotes do not have pairing buttons because they emit standard light pulses.
2. Roku Voice Remote and Voice Remote Pro (Wi-Fi Direct / RF): These remotes feature a dedicated microphone button (or magnifying glass icon) beneath the directional pad. Voice remotes use Wi-Fi Direct radio frequency signals instead of optical light. They operate through cabinet doors, blanket folds, and walls without pointing directly at the screen. Voice remotes must establish an encrypted wireless connection with your player. Standard Voice models use two AAA alkaline batteries, while Voice Remote Pro features an internal rechargeable lithium battery charged via USB-C or micro-USB.
Why Roku Remotes Stop Working
Remote controls experience daily wear and tear. Physical drops cause loose battery contacts, while operating system bugs cause temporary lockups. Here are the primary reasons a remote ceases communication with your player:
- Depleted or Mismatched Batteries: Weak batteries provide enough voltage to illuminate internal LEDs but lack sufficient current to transmit RF data packets.
- Corroded or Compressed Contact Springs: Dropping your remote on hard flooring can compress the negative contact springs inside the battery compartment, breaking the electrical circuit.
- Wi-Fi Direct Desynchronization: When a router changes wireless channels or a Roku player reboots unexpectedly, the encrypted pairing token can desynchronize.
- HDMI Port Radio Frequency Shielding: Streaming sticks plugged directly into rear television HDMI ports sit inches away from metal grounding planes that absorb 2.4 GHz wireless signals.
- Stuck Hardware Buttons: Sticky spills or trapped dust grains can keep a button permanently depressed, which blinds the internal microcontroller to subsequent keypresses.
How to Fix an Unresponsive Roku Remote: 7 Proven Solutions
Follow these solutions in order from simplest to most advanced. Most connection problems resolve within the first three steps.
Fix 1: The Smartphone Camera Infrared Emitter Test (Simple Remotes Only)
Test your remote infrared LED using your smartphone camera to verify whether the internal logic board is sending commands. Human eyes cannot see infrared light waves, but digital camera sensors detect them easily.
- Open the native Camera app on your smartphone or tablet. If you use an iPhone, switch to the front-facing selfie camera, which lacks strong infrared cut filters.
- Point the top front edge of your Roku Simple Remote directly into the camera lens from two inches away.
- Press and hold any button on the remote, such as the Home or Volume Down button, while watching your phone screen.
- Look for a flashing purple, blue, or white light pulsing from the emitter diode.
If you see a bright pulsing light on your screen, your remote is transmitting properly. The fault lies with a blocked IR receiver on your TV, dirty sensor glass, or a frozen television operating system. If you see no light or a faint flicker, your batteries are dead or the circuit board has failed.
Fix 2: Deep Battery Pull and Terminal Contact Inspection
Remove the batteries and reset the internal power state of your remote. Remotes contain microcontrollers that can lock up when voltage drops below critical operating thresholds.
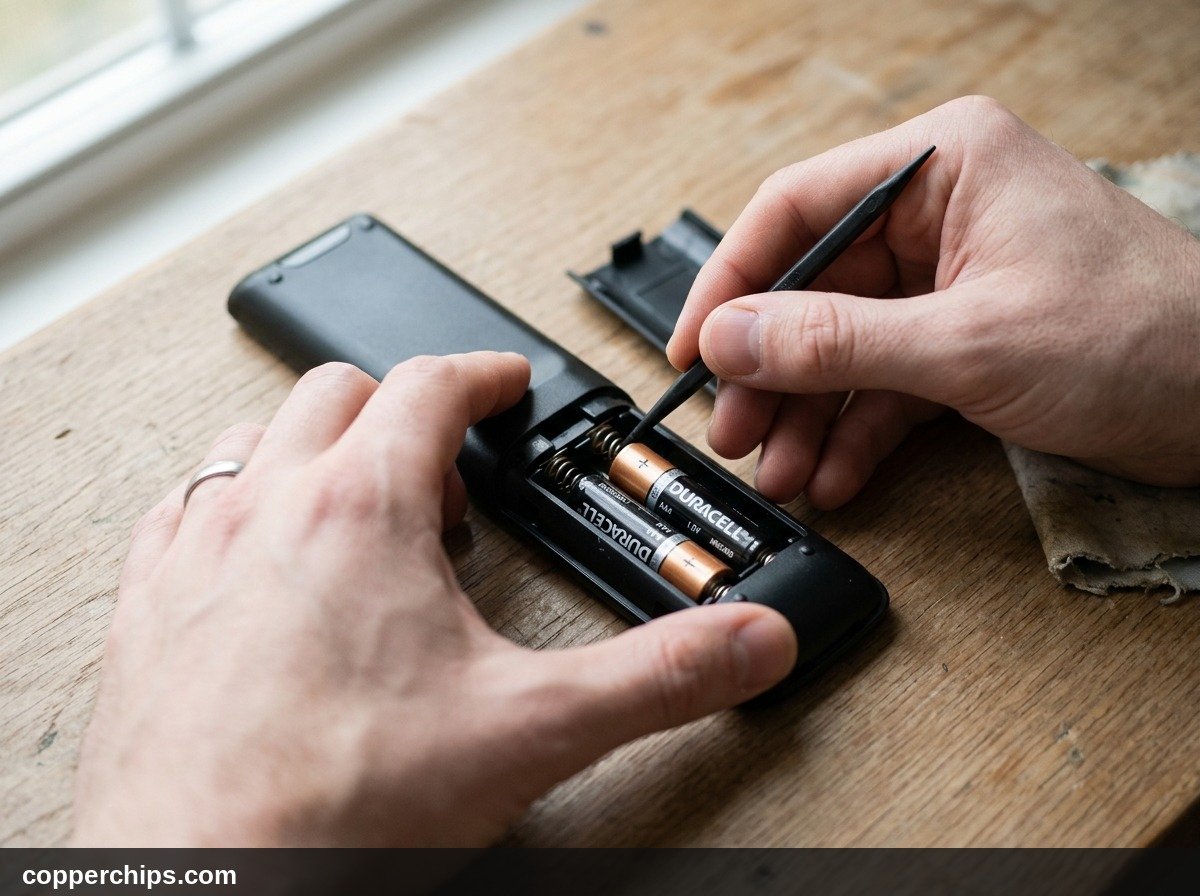
- Slide open the rear battery compartment door and remove both batteries completely.
- Press every single button on the remote face twice, including directional keys, volume buttons, and playback controls. This discharges residual energy stored in internal surface-mount capacitors.
- Examine the metal springs and flat contact plates inside the compartment. Look for white powdery battery acid corrosion or dust buildup.
- Clean dirty terminals using a dry cotton swab. If spring contacts appear compressed flat against the plastic wall, gently pull them outward one millimeter using a wooden toothpick to restore spring tension.
- Insert two fresh, brand-new matching AAA alkaline batteries from the same production batch. Avoid mixing an old battery with a new battery.
If you own a rechargeable Roku Voice Remote Pro, plug it into a standard wall charger using a verified USB cable for at least thirty minutes. Verify that the tiny green status LED on the side flashes steadily during charging.
Fix 3: Cold Power Cycle Your Roku TV or Streaming Stick
Perform a full hardware cold reboot on your Roku device rather than just tapping the power key on your television frame. Pressing the physical TV power button usually activates a low-power sleep mode that keeps cached memory errors active.
- Unplug the power adapter of your Roku streaming stick, box, or Roku TV directly from the electrical wall receptacle.
- Leave the hardware completely disconnected from power for a minimum of sixty full seconds.
- While waiting, press and hold the physical power button located on the bottom or back frame of your television for fifteen seconds to drain electrical standby power.
- Plug the power cable back into the wall outlet and allow the Roku home screen to load completely.
- Test your remote once the bouncing Roku logo disappears and the main channel grid appears.
This power drain flushes volatile system memory and forces the host operating system to initialize a brand-new wireless radio scan. Similar cold restarts also resolve connection failures when troubleshooting Amazon Fire TV Stick remote fixes across modern home entertainment setups.
Fix 4: Re-Pair Your Voice Remote Using the Physical Button or Key Shortcut
Re-establish the encrypted Wi-Fi Direct handshake between your Voice Remote and the host streaming player. Roku software updates can break network pairing tokens, requiring a manual connection reset.
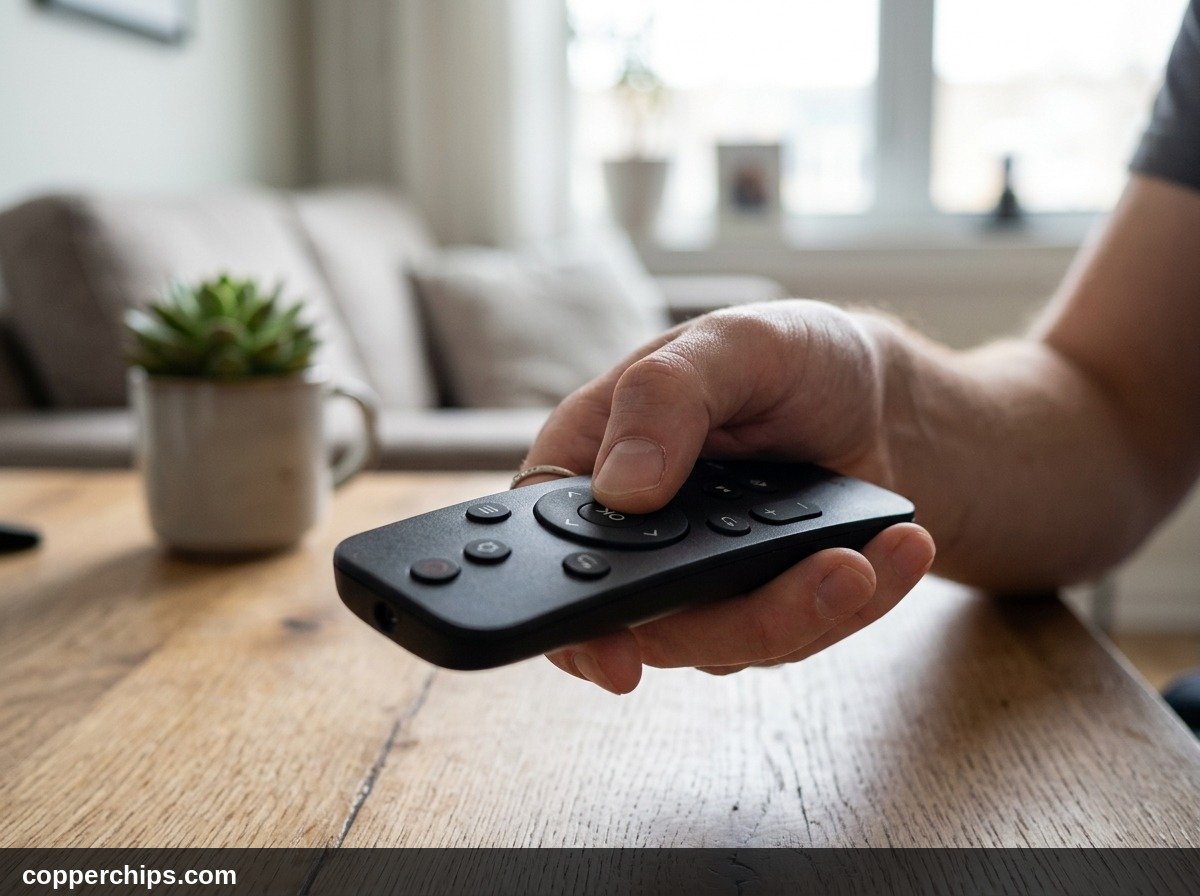
The exact re-pairing method depends on whether your remote features a physical pairing button:
For Remotes With a Pairing Button:
- Remove the battery door on standard voice remotes, or look at the bottom edge on Voice Remote Pro models.
- Locate the small round button situated beneath the battery slots or near the charging port.
- Press and hold the Pairing Button down firmly for five seconds until the green or white status indicator light begins flashing rapidly.
- Hold the remote within twelve inches of your Roku player and wait twenty seconds. A pairing progress dialogue will appear on your television screen.
For Newer Remotes Without a Pairing Button:
- Turn on your television and verify the Roku home screen is visible.
- Press and hold both the Back button (arrow pointing left) and the Home button simultaneously for five full seconds.
- Release both buttons when the status light to the left of the microphone starts blinking.
- Keep the remote resting near the player until the on-screen confirmation banner displays "Remote Paired".
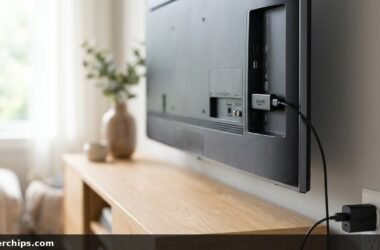
Fix 5: Eliminate HDMI Radio Frequency Interference (The Extender Solution)
Attach a short HDMI extender cable to relocate your streaming stick away from television circuitry if you experience intermittent button delays, sluggish cursor movements, or frequent disconnections. This hardware obstacle affects thousands of owners and is detailed extensively in official Roku remote troubleshooting documentation.
Modern flat-screen televisions feature metal backing plates, dense heatsinks, and internal power supplies that emit electromagnetic noise. According to Federal Communications Commission wireless interference guidelines, close proximity between unshielded digital components can degrade local 2.4 GHz radio frequencies. When a compact streaming stick plugs directly into a recessed rear HDMI port, the metal television chassis shields the remote receiver from incoming Wi-Fi Direct signals.
To cure this issue, connect an HDMI male-to-female extender cable measuring four to twelve inches between your television port and the Roku stick. This drops the stick below the bottom frame of the television, providing an open line of communication for radio waves. You can request a free HDMI extender directly through the Roku support website by submitting your streaming stick serial number.
Fix 6: Clear Roku System Cache and Update Remote Firmware
Clear corrupted temporary cache files and force a remote firmware check through the system settings. Remotes receive periodic over-the-air firmware updates from Roku servers to improve battery life and latency.
If your remote works intermittently, use the following secret button sequence on the remote face while viewing the Roku home screen to force an instant memory dump and reboot:
- Press the Home button five times consecutively.
- Press the Up Arrow button one time.
- Press the Rewind button two times.
- Press the Fast Forward button two times.
Your television screen will freeze for approximately fifteen seconds, scroll through menu screens rapidly, and restart automatically. Once the system finishes loading, navigate to Settings > System > Software Update > Check Now. If a remote update is pending, leave the remote resting flat next to the player while the firmware transfers.
Fix 7: Use the Free Roku Mobile App as an Instant Virtual Remote
Turn your smartphone into a fully functional remote control using the official Roku application available on the Apple App Store and Google Play Store. This free utility bypasses physical hardware entirely, allowing you to operate your streaming player immediately while you diagnose or replace your physical remote.
- Verify your smartphone or tablet connects to the exact same local Wi-Fi network and frequency band as your Roku device.
- Download and launch the official Roku app on your device.
- Tap the Devices tab at the bottom right corner of the application screen.
- Select your Roku player or TV model from the detected device list.
- Tap the green Remote icon to open the virtual directional pad, playback buttons, and private listening controls.
Once connected through the mobile app, you can easily open on-screen settings to check the battery percentage of your physical remote, forget old accessories, or pair a brand-new remote without needing physical directional keys. For more smart living and entertainment device repairs, explore our home device troubleshooting hub.
Roku Remote Troubleshooting Matrix
Use this reference table to match your specific hardware symptoms with the correct diagnosis and immediate corrective action.
| Symptom | Remote Type | Probable Cause | Immediate Action |
|---|---|---|---|
| No response from any button | Simple IR | Dead batteries or blocked line of sight | Perform camera sensor test; swap fresh alkaline AAA cells |
| Flashing light but TV ignores input | Voice Remote | Lost Wi-Fi Direct network pairing | Hold pairing button 5 seconds; cold reboot Roku host player |
| Sluggish response / button lag | Streaming Stick | Television chassis RF shielding interference | Install 4-inch HDMI extender to reposition stick away from TV |
| Volume works, navigation fails | Voice Remote | IR TV control intact, RF Roku link broken | Re-pair voice remote using Back plus Home shortcut |
| Batteries drain within 48 hours | Voice Remote | Constant network search or private listening active | Unplug headphone jack; change home router 5 GHz Wi-Fi channel |
Still Not Working? When to Replace vs Factory Reset
If you completed all seven troubleshooting procedures and your remote still refuses to register button presses, you must decide between performing a full system factory reset or purchasing a replacement controller.
Before proceeding with a factory reset, verify whether your television display is functioning correctly. If your screen remains completely dark and fails to illuminate even when power is applied, consult our detailed black screen television repair guide to verify power board and backlight integrity.
To factory reset a Roku streaming player without a physical remote, connect via the Roku mobile app, navigate to Settings > System > Advanced system settings > Factory reset, and enter the four-digit confirmation code displayed on your screen. Alternatively, locate the physical reset button or pinhole on the back chassis of your Roku box, press and hold it firmly with a paperclip for thirty seconds, and release it when the status light flashes rapidly.
If physical drops or liquid spills damaged the internal circuit board, purchasing an official replacement Voice Remote Pro is the most reliable long-term solution. Official replacement models automatically pair with all modern Roku players and include hands-free voice commands, lost remote finder beeps, and rechargeable batteries.
Frequently Asked Questions
#### Why is my Roku remote flashing a green light inside the battery door?
A flashing green light indicates that your voice remote has lost its wireless network handshake and is actively broadcasting in pairing mode. It will continue flashing while searching for a compatible Roku player nearby. Power cycle your Roku player by pulling the wall plug for sixty seconds. Once the player reboots, hold the pairing button for five seconds to complete the handshake.
#### How do I know if my Roku remote is broken or just dead?
Simple infrared remotes can be checked instantly using your smartphone camera sensor. Point the remote at the camera lens, press any button, and look for a flashing purple light. For Voice remotes, insert two brand-new alkaline batteries, restart your Roku box, and look for a flashing status light. If new batteries produce zero flashing lights and no button response after thirty seconds, the internal circuit board has failed.
#### Can I pair a Roku remote to a new Roku player without the original remote?
Yes. If the replacement remote is a Voice Remote model, simply boot the Roku player, open the battery door on the remote, and hold the pairing button for five seconds until the light pulses. The player automatically detects nearby pairing broadcasts during startup and establishes a secure connection.
#### Why does my Roku remote control volume but not change channels?
Roku Voice Remotes use dual transmission systems. The volume, mute, and TV power buttons transmit standard infrared commands directly to your television chassis, while directional keys and channel buttons transmit Wi-Fi Direct data to the Roku box. If volume works but navigation fails, your infrared transmitter is functional while your RF pairing link has dropped. Re-pair the remote using the Back plus Home buttons.
#### Can home Wi-Fi routers interfere with Roku Voice Remotes?
Yes. Roku Voice remotes operate over Wi-Fi Direct using standard 2.4 GHz and 5 GHz wireless channels. If your home router sits within two feet of your Roku player or broadcasts on heavily congested channels, wireless packet collision can cause severe button lag or dropped connections. Move your home router at least three feet away from your streaming equipment.
## The Bottom Line
A malfunctioning Roku remote almost never requires replacing your entire streaming device. In the vast majority of cases, an unresponsive remote comes down to dead AAA cells, corrupted system cache memory on the player, or radio frequency shielding behind flat-panel televisions.
Begin by running the smartphone camera test on infrared remotes or performing the sixty-second cold power drain on your Roku player. If your streaming stick sits tucked tightly behind a television panel, install an HDMI extender to restore clean wireless communication. While you resolve hardware issues or wait for fresh batteries, rely on the official Roku mobile app to keep your favorite shows playing without interruption.