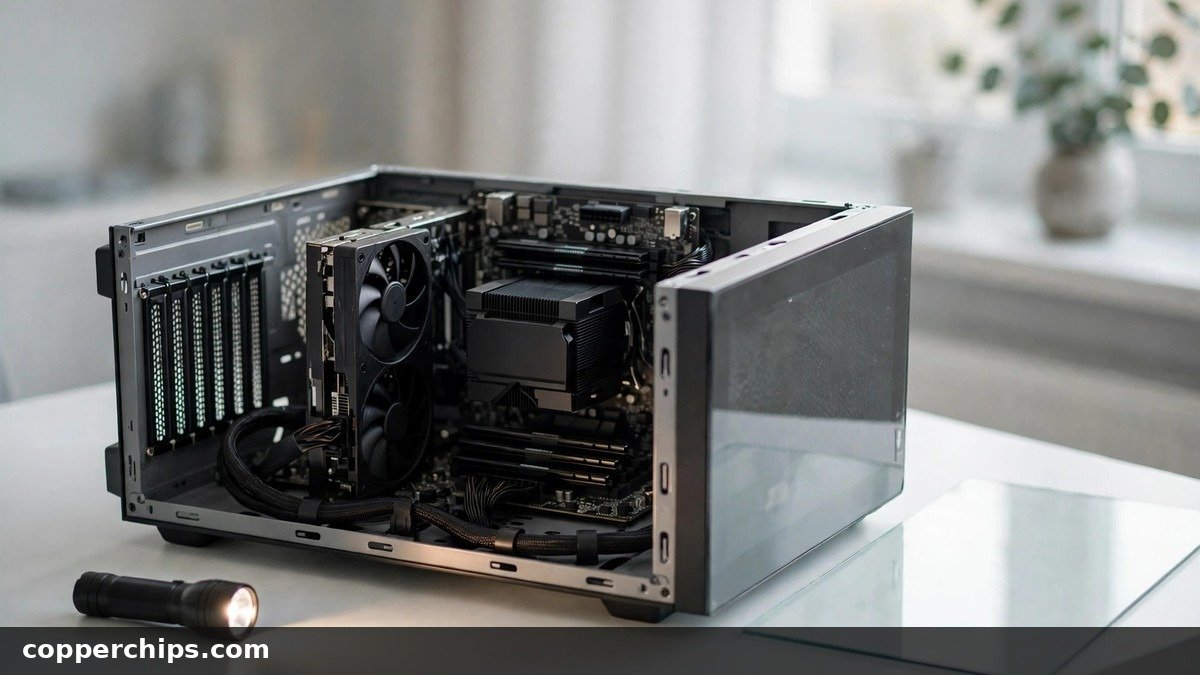
You want a BIOS update, a faster CPU or more RAM, and every forum reply starts with the same question: which board do you have? Windows doesn’t put the answer anywhere obvious. If you’re stuck on how to figure out what motherboard I have, the fix takes about 30 seconds on most PCs, and there’s still a way when the PC won’t boot at all.
Below are five methods, grouped by what your PC can do right now. You’ll also see what to do when Windows shows a generic placeholder name, why the old wmic command stopped working, and how to read the model, chipset and revision once you find them.
On Windows 11 or 10, press Win + R, type msinfo32 and press Enter. The BaseBoard Manufacturer, BaseBoard Product (your model) and BaseBoard Version lines tell you what motherboard you have. For a one-line answer, run Get-CimInstance Win32_BaseBoard in PowerShell. If Windows won’t start, the model shows on the BIOS or UEFI main screen. When the PC won’t power on, read the model printed on the board itself, usually between the graphics card slots or near the RAM slots. Dell, HP and Lenovo prebuilts often show an internal code, so look up the system model or service tag instead.
- vFastest check: msinfo32 or one PowerShell command shows the maker, model and revision in under a minute.
- vSkip wmic: Microsoft removed the wmic tool from current Windows 11 versions, so use PowerShell instead.
- vNo boot, no problem: the BIOS screen or the text printed on the board gives you the model when Windows can’t.
Motherboard ID Cheat Sheet: Which Method to Use
Pick the row that matches your PC right now. Each method is explained step by step further down.
| Your situation | Fastest method | What you’ll see |
|---|---|---|
| PC boots into Windows | PowerShell or msinfo32 | Maker, model, revision |
| You also want chipset and BIOS version | CPU-Z, Mainboard tab | Model, chipset, BIOS date |
| Windows won’t start | BIOS or UEFI main screen | Model name, BIOS version |
| PC won’t power on | Read the board itself | Model and REV printed on the board |
| Prebuilt desktop or laptop | System model or service tag | Exact factory configuration |
| Mac | Apple menu, About This Mac | Mac model and serial number |
| Linux | sudo dmidecode -t 2 | Base Board Information block |
Method 1: Use PowerShell on Windows 11 and 10
Run one PowerShell command and Windows reads the motherboard details straight from the firmware. This is the most reliable software method on a current PC.
- Right-click the Start button and choose Terminal (Windows 11) or Windows PowerShell (Windows 10).
- Paste this and press Enter:
Get-CimInstance -ClassName Win32_BaseBoard | Select-Object Manufacturer, Product, Version, SerialNumber - Read the results. Product is your model, for example ROG STRIX B550-F GAMING. Version is often the board revision.
Admin rights aren’t needed. If Version shows “Default string” or a row of x characters, the maker simply left that field empty.
Extra Command for Prebuilt Desktops and Laptops
Dell, HP, Lenovo and most laptop makers use their own boards with internal names. The board query might return a short code that means nothing on Google. Run this instead:
Get-CimInstance -ClassName Win32_ComputerSystem | Select-Object Manufacturer, Model
That gives you the full system model, such as a specific OptiPlex or Pavilion. Search that model on the maker’s support site for drivers and BIOS updates, which is what you usually need anyway.
Why the Old wmic Command Fails on Windows 11
Older guides tell you to type wmic baseboard get product in Command Prompt. On a current Windows 11 PC you’ll get an error saying wmic isn’t recognized.
That’s expected. Per Microsoft’s WMIC removal notice, the tool is gone from supported Windows 11 versions and no longer installs as an optional feature. Microsoft points people to PowerShell, which is why Method 1 uses it.
Method 2: Check Windows System Information
Open System Information if you’d rather click than type. It has been part of Windows for decades and needs no install.
- Press Win + R, type
msinfo32and press Enter. - Stay on System Summary in the left pane.
- Scroll the right pane to BaseBoard Manufacturer, BaseBoard Product and BaseBoard Version.
The same screen lists your BIOS version and date, which helps when you check for a BIOS update.
When System Information Shows a Generic Name
Sometimes BaseBoard Product reads “Base Board Product Name” or “To be filled by O.E.M.” Your board isn’t broken. The manufacturer never wrote the real name into the firmware table that Windows reads.
When that happens, move to CPU-Z, the BIOS screen or the board itself. Those methods don’t depend on that firmware field being filled in.
Method 3: Use Free Tools Like CPU-Z or HWiNFO
Install CPU-Z when you want the model plus the chipset in one window. Download it only from the official CPUID site, since copycat download pages bundle extra software.
- Install and open CPU-Z.
- Click the Mainboard tab.
- Read Manufacturer, Model and Chipset. The BIOS section below shows the version and date.
HWiNFO and Speccy show the same data under Motherboard. If your board came with its maker’s app (Asus Armoury Crate, MSI Center or Gigabyte Control Center), its system info page also names the board.
Method 4: Find the Motherboard Model in BIOS or UEFI
Enter the BIOS when Windows won’t load but the PC still powers on and shows a logo. The firmware always knows its own board.
- Restart the PC and tap the setup key as soon as the screen lights up. Delete or F2 works on most desktop boards. Dell commonly uses F2, HP uses Esc then F10, and Lenovo uses F1 or F2.
- Look at the first screen. Most boards print the model name at the top, often in a simplified view called EZ Mode.
- No name there? Check a tab labelled Main, System Information or SysInfo.
If Windows still works but the key press keeps missing, go in through Windows. On Windows 11 open Settings, then System, Recovery, and click Restart now next to Advanced startup. Choose Troubleshoot, Advanced options, then UEFI Firmware Settings.
Method 5: Check Your Motherboard Without Turning It On
Read the board directly when the PC is dead, or when you’re buying a used tower and want to check the seller’s claim. Every desktop board has its model printed on it.
Safety First: Static and Warranty
- Shut down, flip the power supply switch to off, and unplug the power cable.
- Hold the power button for about five seconds to drain leftover charge.
- Touch a bare metal part of the case before touching anything inside, or wear an anti-static wrist strap.
Static matters more than people think. The ESD Association’s static safety guide notes that many components can be damaged at less than 100 volts, far below the shock you can feel.
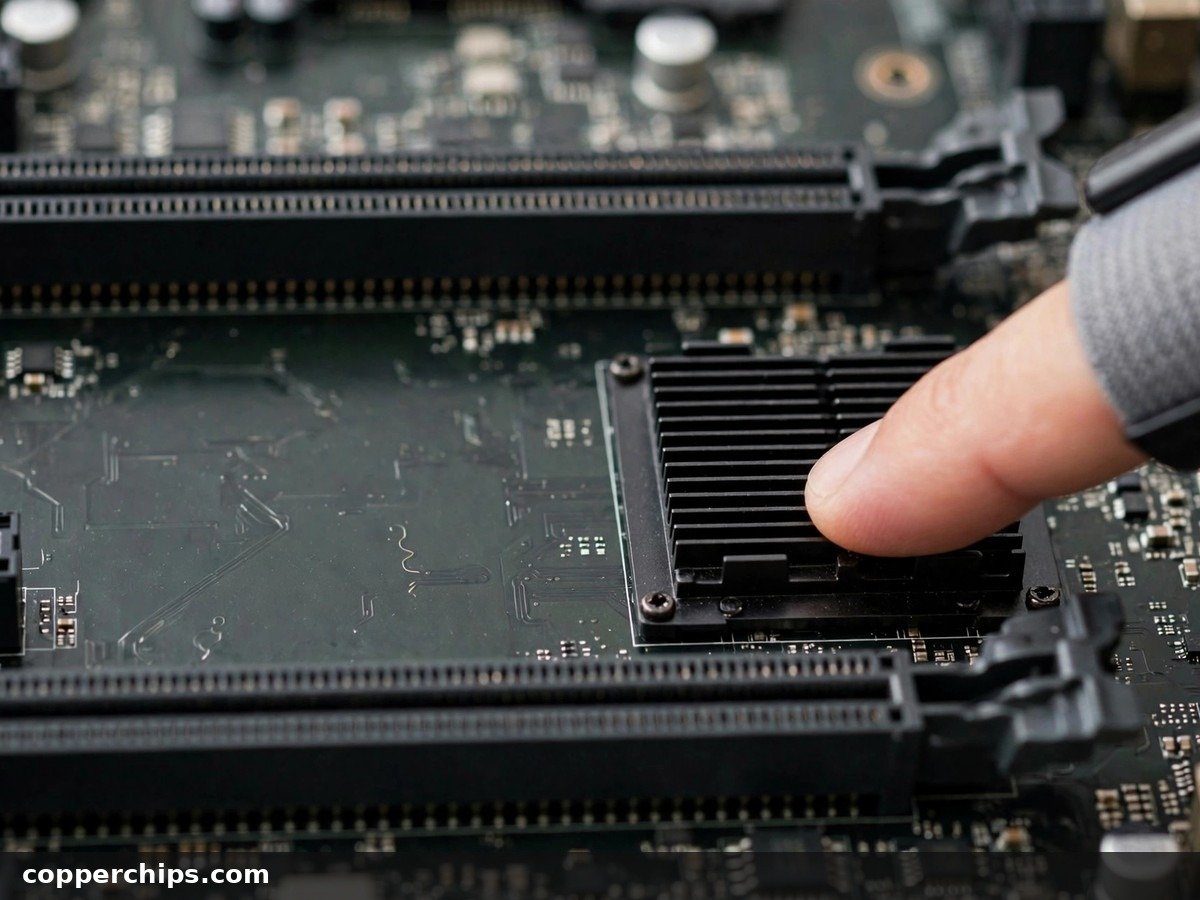
Where the Model and Revision Are Printed
Remove the side panel and use a flashlight. The model name is usually printed in large letters in one of these spots:
- Between the PCIe slots, where the graphics card sits
- Next to the RAM slots
- Around the CPU socket
- On the chipset heatsink in the lower right area
The graphics card often hides the text, so look along its edges. The revision appears as small text like “REV 1.0”, often near a board edge or corner.
Check the Box, Manual or Receipt
No case access? The retail box has the model on the side label. The manual cover and your order history at the store you bought from show it too. Built by a shop? Their invoice usually lists every part.
How to Check the Motherboard on a Mac or Linux PC
Mac: Use About This Mac
Apple doesn’t sell or name its logic boards separately, so the Mac model is the identifier that counts. Click the Apple menu, then About This Mac. You’ll see the model name, year and serial number.
For more detail, hold the Option key, open the Apple menu and choose System Information. The Hardware Overview shows the Model Identifier. Apple’s Mac System Information guide walks through each section.
Linux: Use dmidecode
Open a terminal and run sudo dmidecode -t 2. The Base Board Information block lists Manufacturer, Product Name, Version and Serial Number.
No sudo access? Run cat /sys/devices/virtual/dmi/id/board_name for the model alone.
Device Manager, Serial Numbers and Decoding the Name
Can Device Manager Show Your Motherboard?
Not really. Device Manager lists individual devices, not the board as a whole. Under System devices you’ll see chipset parts with names like Intel or AMD SMBus, which tells you the platform but not the board model. Use Method 1 or 2 instead.
Model vs. Chipset vs. Revision
A name like MSI MAG B650 TOMAHAWK WIFI packs in three things. MSI is the maker. B650 is the chipset, the letter-plus-three-digits code that sets which CPUs and features the board supports. The rest is the product line.
The socket usually isn’t in the name, so check the board’s spec page before buying a CPU. Revision matters for BIOS updates: Gigabyte, for example, publishes separate BIOS files for REV 1.0 and REV 1.1 of the same model. Flash the wrong one and the board may not boot.
Can You Look Up a Motherboard by Serial Number?
For DIY boards, the serial number helps with warranty registration on the maker’s site, but many boards report “Default string” in software. Prebuilts are different. A Dell service tag or an HP or Lenovo serial on the maker’s support page shows the exact original configuration, board included.
Still Can’t Find Your Motherboard Model?
A few situations trip people up even after trying every method above.
- Only a part number on the board. OEM boards often skip a retail name. Type the printed code into a search engine with the PC brand, for example “HP” plus the code.
- Laptop with no visible label. These boards aren’t sold separately. Use the system model and serial from the sticker underneath or the battery bay.
- Used PC with mismatched parts. The board may have been swapped. Trust the text printed on the board over the seller’s listing or the case sticker.
- Every software field says “Default string”. That’s common on budget boards. The physical label is your only reliable source.
Once you have the model, head to the maker’s support page for drivers, BIOS files and the CPU support list. If your display acts up after a driver update, our guide to fixing red lines on a PC screen covers the usual culprits.
Frequently Asked Questions
How do I know what motherboard I have without turning it on?
Unplug the PC, open the side panel and read the model printed on the board, usually between the PCIe slots or near the RAM. The retail box, manual or purchase receipt also list it. Prebuilt owners can enter the service tag or serial on the maker’s site.
Will BIOS tell me what motherboard I have?
Yes, on almost every board. The model name usually appears on the first BIOS or UEFI screen. If it doesn’t, check the Main or System Information tab.
Why doesn’t the wmic command work on Windows 11?
Microsoft removed the wmic tool from supported Windows 11 versions and recommends PowerShell instead. Run Get-CimInstance Win32_BaseBoard to get the same details.
Why does System Information say “Base Board Product Name”?
The board maker left a placeholder in the firmware instead of the real name. Use CPU-Z, the BIOS screen or the printed label on the board to find the actual model.
Can I find my motherboard using the serial number?
On prebuilt PCs, yes: the service tag or serial on the maker’s support site shows the original parts. For DIY boards, the serial is mostly for warranty registration, and the model name is easier to find with the methods above.
The Bottom Line
Start with PowerShell or msinfo32 if Windows boots. Both take under a minute and read the model straight from the board. If they show a placeholder, CPU-Z or the BIOS screen gives the real name, and the text printed on the board settles it when nothing else works.
Write down the model and the revision together, since BIOS files and CPU support lists depend on both. For more Windows walkthroughs, browse our Windows fixes and guides.