Have you ever walked into a room and felt an immediate sense of harmony, even if you could not pinpoint exactly why? The secret often lies in the finishing details. Whether you are renovating an old apartment or building a new house from the ground up, the final touches determine the overall quality of your space. This brings us to a crucial concept in interior design and construction: acamento.
Understanding this process can completely transform your approach to home improvement. It shifts your focus from mere structural integrity to aesthetic perfection and functional durability. In this comprehensive guide, we will explore the core principles of this finishing technique. You will learn how to avoid common pitfalls, select the right materials, and apply these methods to achieve professional-grade results in your own projects.
What Exactly is Acamento?
At its core, acamento refers to the meticulous process of finishing surfaces, edges, and transitions in architectural and interior design. It acts as the bridge between raw construction and the final, polished product. When builders put up drywall, lay down floors, or install cabinetry, the raw materials often look rough. They have exposed edges, uneven seams, and vulnerable surfaces. This is where specialized finishing techniques come into play.
A high-quality finish ensures that every corner meets perfectly and every surface feels smooth to the touch. It involves tasks like sanding, sealing, painting, edge-banding, and polishing. But it goes beyond just making things look pretty. Proper finishing protects structural elements from moisture, wear, and environmental damage.
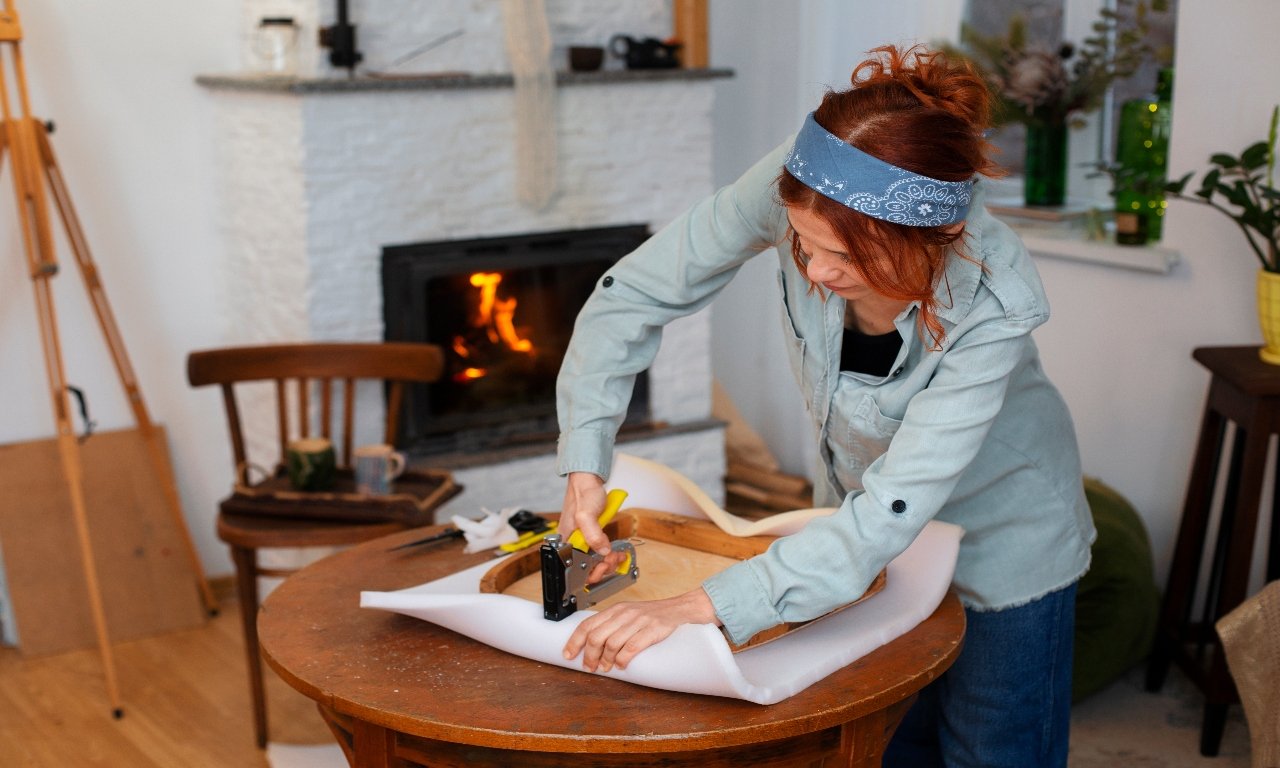
Think of a solid wood dining table. Without the proper final layers of sanding and sealing, the wood remains vulnerable to water stains and splinters. The finishing process seals the pores, highlights the natural grain, and provides a protective barrier. The same logic applies to your walls, floors, and fixtures.
The Evolution of Finishing Techniques
Historically, builders relied on rudimentary methods to smooth out rough edges. They used natural oils and basic sanding tools. As technology advanced, so did the materials available to craftsmen. Today, we have access to high-tech polymer sealants, laser-guided cutting tools, and advanced polishing compounds. These innovations have elevated the standards of what we consider a perfect finish.
Modern design trends emphasize clean lines and minimalist aesthetics. This makes the quality of your finishing work more important than ever. When a room lacks ornate molding to hide imperfections, every seam and joint must be flawless.
The Core Principles of Proper Acamento
To achieve exceptional results, you must follow several foundational principles. Skipping these steps or rushing through them will inevitably lead to subpar outcomes.
Preparation is Everything
You cannot build a beautiful finish on a flawed foundation. Preparation requires patience and attention to detail. Before applying any paint, sealant, or trim, you must ensure the underlying surface is completely clean, level, and dry.
If you are working on a drywall project, this means spending extra time taping and mudding the seams. You must sand the joint compound until it blends seamlessly with the surrounding wall. Even the smallest bump or indentation will become highly visible once you apply a coat of semi-gloss paint. Take the time to shine a bright work light across your surfaces at a sharp angle. This technique highlights subtle imperfections that you might miss under normal lighting conditions.
Material Compatibility
Not all finishing products work well together. You must carefully match your primers, paints, and sealants to the specific materials you are using. Applying an oil-based polyurethane over a water-based stain can cause peeling and bubbling.
Always read the manufacturer guidelines and test your products on a small, hidden area before committing to the entire project. Understanding material compatibility also extends to hardware and trims. If you are using aluminum transition strips for your flooring, ensure they complement the moisture levels and traffic patterns of that specific room.
Precision and Patience
Achieving a flawless finish is not a race. It requires a steady hand and a willingness to wait. Many finishing products require specific curing times between coats. Rushing this process traps moisture beneath the surface, leading to a cloudy appearance or structural failure down the road. Allow each layer to dry completely. Sand lightly between coats to create a mechanical bond for the next layer.
Benefits of Investing in High-Quality Acamento
You might wonder if spending extra time and money on these final details is truly worth the effort. The answer is a resounding yes. High-quality finishing work offers several tangible benefits that enhance both your daily life and your property’s value.
Enhanced Durability and Longevity
Raw materials degrade quickly when exposed to daily wear and tear. Moisture from cooking, oils from human skin, and friction from moving furniture take a toll on your home. A robust finish acts as a shield. It prevents water from seeping into your subfloors and stops dirt from embedding itself into your woodwork. By investing in proper finishing techniques, you extend the lifespan of your materials by decades.
Elevated Aesthetic Appeal
The difference between an average room and a stunning space often comes down to the details. Clean caulk lines around the baseboards, perfectly mitered corners on door casings, and a streak-free paint job elevate the entire aesthetic. These details signal quality and care. They make your home feel custom-built and luxurious, even if you used standard building materials.
Increased Property Value
Real estate agents and prospective buyers notice the small things. A home with flawless finishes sells faster and commands a higher price. Buyers perceive a well-finished home as a well-maintained home. They understand that if the visible details look perfect, the hidden structural elements are likely in good shape as well.
Common Mistakes to Avoid
Even experienced DIY enthusiasts can fall into traps when working on their finishing details. Awareness is your best defense against these common errors.
Skipping the Primer
Primer might seem like an unnecessary expense, especially when paint brands advertise “paint and primer in one.” However, dedicated primers serve a vital purpose. They seal porous surfaces, block stains, and create a uniform base for your topcoat. Skipping primer often leads to uneven color distribution and peeling paint.
Overlooking Edge Treatments
The edges of your materials are highly vulnerable to chipping and moisture damage. Whether you are cutting laminate countertops, installing tiles, or building shelves, you must protect the exposed edges. Use edge-banding, metal Schluter strips, or specialized sealants to cap off these vulnerable areas. Leaving edges raw looks unprofessional and guarantees early failure.
Applying Excess Caulking
Caulk is meant to seal small gaps and create clean transitions between different materials. It is not meant to act as an adhesive or a gap-filler for massive structural errors. Applying too much caulk creates a messy, bulging line that attracts dust and turns yellow over time. Use a caulk finishing tool to create a smooth, concave bead. Wipe away any excess immediately with a damp sponge.
Step-by-Step Guide to Perfecting Your Finishing Touches
Ready to tackle your next project? Follow this streamlined process to ensure a professional-grade result.
Step 1: Gather the Right Tools
Equip yourself with high-quality tools. You will need:
- Variable-grit sandpaper (ranging from 80 to 400 grit)
- Microfiber tack cloths
- High-density foam rollers and angled trim brushes
- A reliable utility knife with extra blades
- Painter’s tape and drop cloths
- A bright LED work light
Step 2: Surface Preparation
Start by removing any old flaking paint or loose debris. Use a scraper to level high spots and wood filler or spackle to fill holes. Once the filler dries, sand the entire surface progressively. Start with a coarse grit to level the surface, then move to a finer grit to smooth out scratches. Wipe the area down completely with a tack cloth to remove all dust.
Step 3: Priming and Sealing
Apply a high-quality primer suited for your specific material. Use smooth, even strokes. If you are working with wood, you might notice that the primer raises the grain, making the surface feel fuzzy. This is normal. Once the primer dries, lightly sand the surface with 220-grit sandpaper until smooth, then wipe away the dust.
Step 4: Applying the Topcoat
Stir your paint or sealant thoroughly before use. Never shake a can of polyurethane, as this introduces air bubbles that will ruin your finish. Apply the topcoat in thin, even layers. Multiple thin coats always look better and last longer than one thick, heavy coat. Follow the grain of the wood or the vertical line of the wall. Maintain a “wet edge” to avoid visible lap marks.
Step 5: Final Inspection and Touch-Ups
Once the final coat dries, inspect your work under harsh lighting. Look for any drips, holidays (missed spots), or trapped dust particles. You can usually fix small imperfections by lightly sanding the specific spot and dabbing on a tiny amount of your finishing product. Finally, remove your painter’s tape by pulling it away at a sharp 45-degree angle. This prevents the tape from pulling off fresh paint.
Bringing It All Together
Mastering these finishing techniques requires practice, patience, and a keen eye for detail. The concept of acamento reminds us that the journey of building or renovating does not end when the structure stands upright. The true magic happens in the final layers.
By prioritizing thorough preparation, choosing compatible materials, and executing your finishing steps with precision, you can dramatically improve the look and longevity of your home. You transform rough, raw materials into refined, elegant surfaces.
Next time you embark on a home improvement project, do not rush the final steps. Dedicate the necessary time to perfect your edges, smooth your surfaces, and seal your work. The stunning, long-lasting results will speak for themselves, giving you a space you can truly be proud of for years to come.