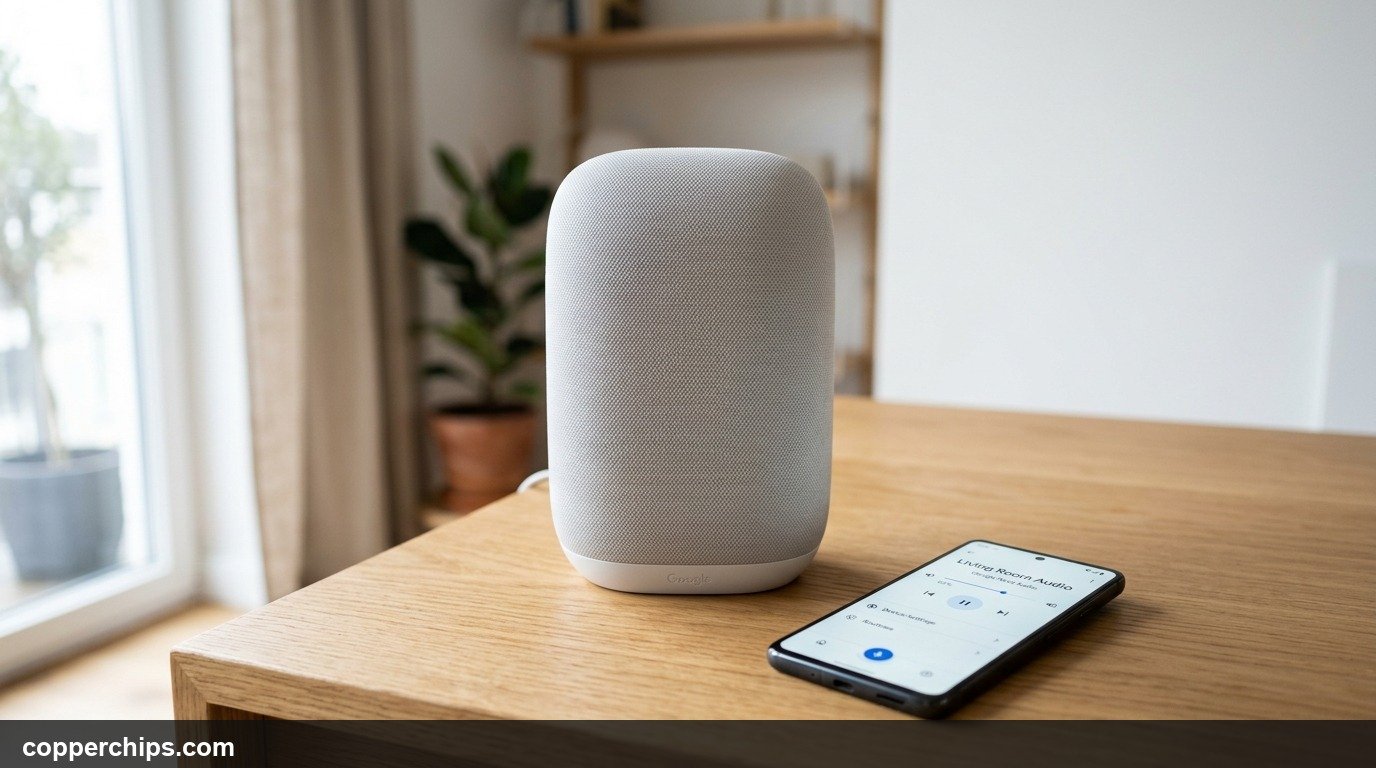
Swapping out your internet router or updating your home network password should be simple. Yet figuring out how to change wifi on google home often turns into an exercise in pure frustration. You open the Google Home app, tap your smart speaker, and find yourself staring at an unresponsive screen that claims the device cannot communicate. Google Nest devices do not provide a simple edit button for Wi-Fi credentials once the original network goes dark.
To change Wi-Fi on Google Home while still connected to the old router, open the Google Home app, select your speaker, tap Settings (gear icon), choose Device Information, select Wi-Fi, and tap Forget This Network. If your old network is already gone, your speaker will display an offline error. Reconnect it by standing near the device with your phone Bluetooth enabled, tapping the offline device banner, or performing a 15-second physical button reset to rejoin the new network through the plus setup icon.
- ✓The 30-Second Router Bypass: Naming your new router SSID and password identically to your previous network reconnects every Google Home device automatically.
- ✓Forget Network First: You cannot simply type a new password in the app while the old connection remains cached. You must forget the old network first.
- ✓Physical Reset When Offline: When a speaker is completely unresponsive after an ISP change, a 15-second hardware reset clears the old network without removing your custom room names.
Why Changing Wi-Fi on Google Nest Devices Feels So Difficult
Most consumer electronics let you open a wireless settings menu, scan for nearby networks, and type a fresh network security key. Google Home speakers and displays handle networking differently. Because these devices lack keyboards or interactive setup screens, they rely entirely on local peer discovery through your smartphone.
When you replace your home gateway or alter your password, your Google Home speaker immediately loses contact with your local subnet. The speaker keeps broadcasting requests for its saved credentials. Meanwhile, your phone connects to the new router. Because both devices now sit on separate wireless islands, the app displays a greyed-out tile or gives you a generic connection timeout error.
This technical disconnect leaves many users stranded. Fortunately, depending on whether your old router is still powered on, you have three distinct methods to resolve the issue quickly.
The 30-Second Bypass: Match Your Old Network Name and Password
Before you spend thirty minutes resetting six individual speakers around your house, consider the smartest shortcut in home networking. If you recently installed a replacement router from your internet service provider, you can bypass manual reconfiguration entirely.
Log into your new router administration console using your browser. Update the 2.4 GHz and 5 GHz network names (SSID) so they match your old router network name down to the exact capitalization and spacing. Enter the identical WPA2 or WPA3 security passphrase you used previously.
Once your new router reboots with the legacy network name, every Google Nest Mini, Nest Audio, and Nest Hub in your house will recognize the network automatically. They will authenticate and resume operation within two minutes. If you want a refresher on managing router settings, review our walkthrough on how to restart your router cleanly.
Method 1: Change Wi-Fi in the Google Home App (Old Network Still Active)
Use this method if your current Wi-Fi network is still operating and your phone is currently communicating with your Google Home speaker. This happens when you are preparing to switch to a new access point or when you are testing a secondary guest network.
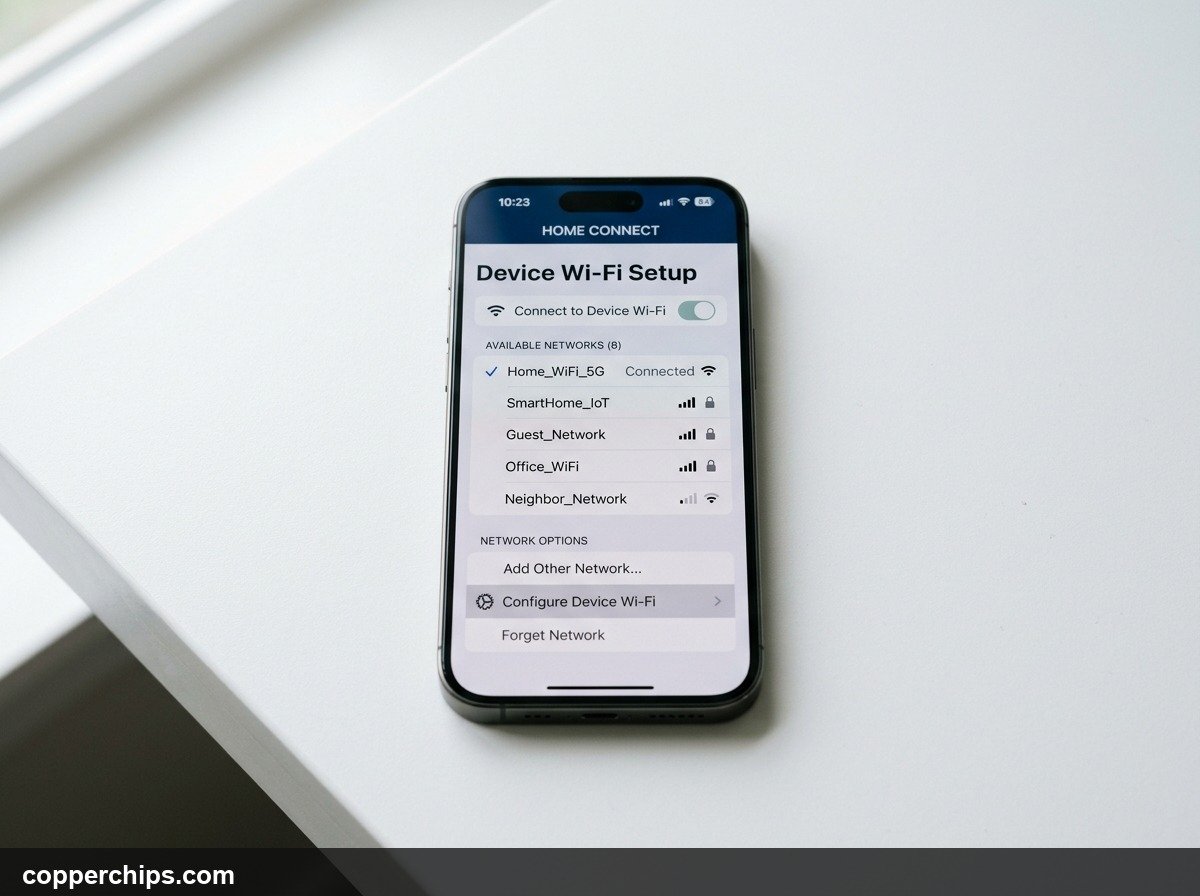
- Connect your smartphone or tablet to the current Wi-Fi network that your Google Home speaker uses.
- Launch the Google Home app on your Android or iOS device.
- Locate your speaker tile on the Favorites or Devices screen and press on it.
- Tap the Settings gear icon located in the upper right corner of the device screen.
- Select Device information from the settings menu list.
- Locate the Wi-Fi row, which displays the name of your active connection.
- Tap Forget this network or Forget network. Confirm the selection when prompted.
Your Google Home speaker will disconnect from the local network and emit a short confirmation chime. Its top indicator LEDs will pulse slowly, indicating that the unit has entered pairing mode. Now, connect your smartphone to your new Wi-Fi network. Return to the main screen of the Google Home app, tap the Devices tab, select Add (the plus icon), and follow the standard setup sequence to assign the new Wi-Fi credentials.
Method 2: Reconnect an Offline Google Home Device to New Wi-Fi
If your old router is already disconnected or unplugged, Method 1 will fail. When you open the device settings, the app will report that it cannot communicate with the speaker. You cannot tap the Forget button because the phone cannot send the instruction across an absent Wi-Fi connection.
Thankfully, Google Nest hardware features an automatic Bluetooth fallback mechanism. When a speaker fails to reach its assigned access point after boot, it turns on a low-energy Bluetooth beacon for nearby setup devices. Official guidelines outlined in the Google Nest official Wi-Fi support guide explain this fallback routine.
- Verify that your mobile device has both Bluetooth and Location Services enabled. Both permissions are mandatory for local device discovery.
- Connect your mobile phone directly to the new Wi-Fi network you want your smart speaker to use.
- Stand within five to six feet of your Google Home device to maintain a strong direct Bluetooth link.
- Open the Google Home app. Look for an alert banner that says Could not connect to Wi-Fi or Device Offline.
- Tap the alert banner. The app will initiate a direct Bluetooth handshake with the speaker.
- When prompted, select your new home network name from the discovered list, input your wireless password, and confirm the connection.
If the app continues to spin on the connection screen without discovering your speaker over Bluetooth, proceed to Method 3. Performing a direct physical reset is often faster than fighting lingering app cache entries.
Method 3: Factory Reset Paths by Device Model
A physical hardware reset wipes outdated network profiles stored inside the speaker internal flash memory. It places the device back into its out-of-the-box discovery state. Because Google has updated its speaker lineup across several hardware generations, the physical reset buttons differ depending on your model.
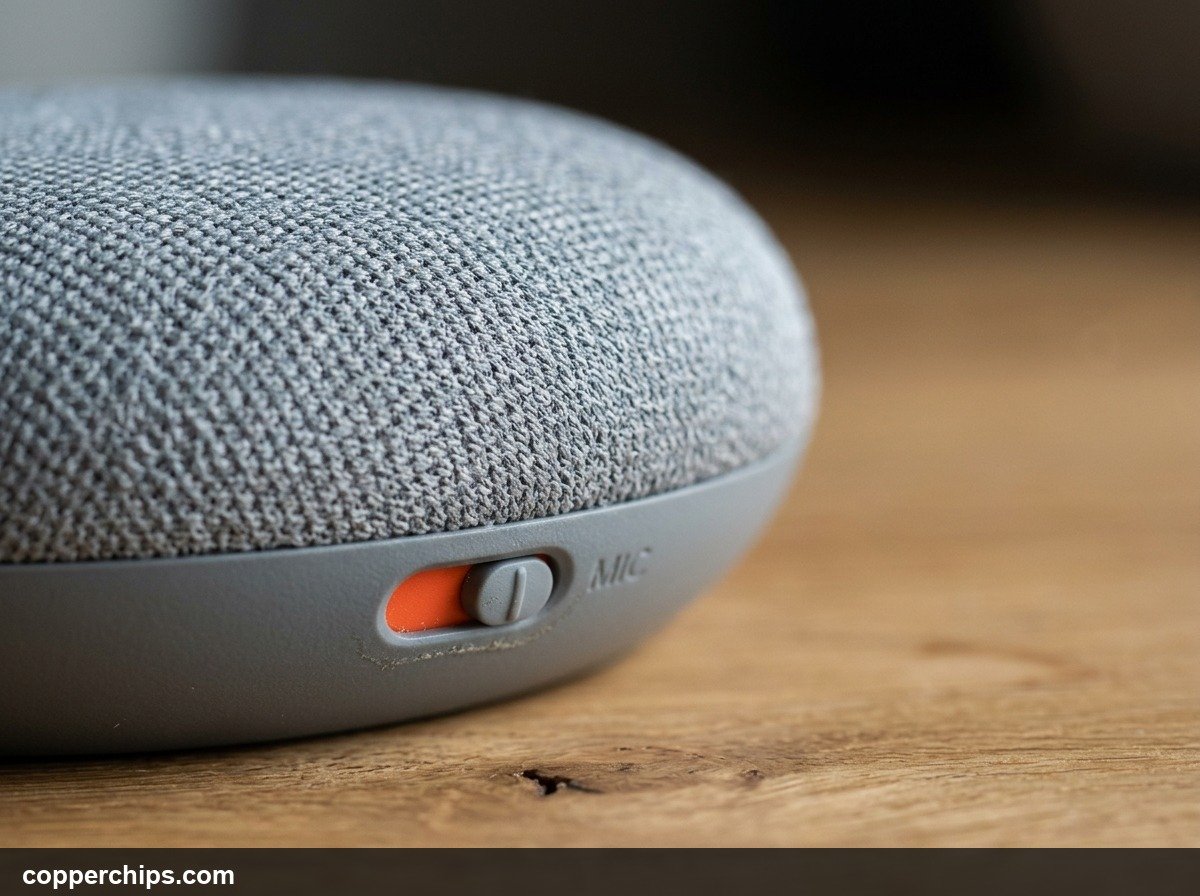
Locate your specific model from the hardware descriptions below:
1. Google Nest Mini (2nd Generation)
The 2nd generation Nest Mini has a built-in wall mount screw slot on the bottom base. Locate the physical microphone toggle switch on the side edge of the speaker. Slide the switch so the internal orange indicator is visible. Four amber LEDs will illuminate across the top fabric surface. Press and hold down the physical center of the speaker where the lights appear. Hold your finger down for 10 seconds until a chime sounds, confirming that the reset process is complete.
2. Google Home Mini (1st Generation)
The original Home Mini does not have a wall mount slot on the underside. Flip the speaker upside down. Look for a tiny circular indentation button stamped directly into the orange or grey rubber base near the power cord connector. Press and hold this circular reset button firmly for 15 seconds. The Google Assistant will speak aloud to announce that the device is about to reset.
3. Google Nest Audio
The Nest Audio is the larger, upright fabric-wrapped speaker. Slide the microphone mute switch located on the back panel to the mute position until you see orange plastic. Press and firmly hold down the center of the top edge above the illuminated status LEDs. Maintain pressure for 5 seconds until the speaker begins the reset routine. Continue holding for an additional 10 seconds until you hear a clear audio chime.
4. Google Home (Original Cylindrical Speaker)
The original Google Home speaker has an angled top surface and a detachable fabric or metal base. Locate the round physical microphone mute button on the back of the white plastic housing. Press and hold down that microphone mute button for roughly 15 seconds. The Google Assistant will announce the reset countdown before restarting.
5. Google Nest Hub and Nest Hub Max
For smart displays with touchscreen panels, make sure the device is powered on. Locate the two physical volume buttons on the back plastic frame. Press and hold both the Volume Up and Volume Down buttons simultaneously for 10 seconds. A visual countdown timer will appear on the display screen confirming the reset sequence. Further technical procedures can be reviewed in the official Google Nest hardware reset documentation.
Common Wi-Fi Connection Pitfalls to Avoid
If your Google Home speaker refuses to connect even after a complete factory reset, the bottleneck usually stems from your router wireless configuration. Smart speakers have specific networking requirements that differ from laptops and smartphones.
Band Steering and 2.4 GHz Congestion
Most modern Wi-Fi 6 mesh routers use band steering to combine the 2.4 GHz and 5 GHz bands under a single network name. Older Google Home Mini units operate much more reliably on 2.4 GHz frequencies. If your router attempts to push the smart speaker onto a crowded or distant 5 GHz frequency, the setup handshake can fail. Temporarily split your bands or disable 5 GHz during initial setup if your speaker gets stuck at the final connection stage.
Access Point (AP) Isolation
Many guest networks and business routers enable Access Point Isolation by default. This security feature prevents wireless devices on the same subnet from talking directly to each other. Because your phone must communicate directly with your Google Home speaker during setup, AP Isolation completely blocks discovery. Check your router administration panel under Wireless Advanced Settings to confirm AP Isolation is disabled.
WPA3-Only Security Compatibility
While WPA3 offers enhanced wireless encryption, older smart home equipment frequently struggles to complete cryptographic handshakes with WPA3-only networks. As noted in the Wi-Fi Alliance WPA2 and WPA3 security standards, backwards compatibility requires running your router in WPA2/WPA3 Mixed or Personal mode. Switching from WPA3-Enterprise to standard WPA2-Personal resolves connection failures on 1st generation Nest hardware instantly.
Still Not Working? Try This
When you have attempted app reconfiguration, hardware resets, and router reboots without success, test these four advanced troubleshooting steps:
- Toggle Phone Wi-Fi and Bluetooth: Switch your smartphone into Airplane Mode for 15 seconds. Turn Airplane Mode off, reconnect your phone to the target Wi-Fi network, and reopen the Google Home app. This flushes the local mobile network routing table.
- Temporarily Disable Private MAC Addressing: Modern iOS and Android operating systems randomize your device MAC address for privacy. In your phone Wi-Fi settings for your home network, change Private Wi-Fi Address or MAC Randomization to Use Device MAC during device pairing.
- Move Speaker Closer to the Router: Thick plaster, metal lath, and kitchen appliances weaken 2.4 GHz signals. Bring your Google Home speaker into the same room as your main router for initial provisioning. You can move it back to its permanent location once the credentials are stored.
- Check Smart Display Compatibility: If you are configuring displays and TVs alongside smart speakers, see our complete guide on connecting smart TVs to Wi-Fi for additional media streaming optimizations.
- Explore Further Smart Home Hardware: For additional connectivity guides covering smart plugs, hubs, and voice assistants, check our dedicated smart home troubleshooting guides directory.
Frequently Asked Questions
Can you change Wi-Fi on Google Home without the app?
No, you cannot change Wi-Fi on Google Home without the Google Home app unless you use the router bypass trick. Setting your new router network name (SSID) and password to match your old router lets the speaker reconnect without touching any software.
Why is my Google Home not showing up in the app?
Your Google Home speaker will not appear in the app if your phone is connected to a different Wi-Fi network or if your phone Bluetooth is disabled. Make sure both devices are within 10 feet of each other and verify that your phone location permissions are turned on.
Do I lose my smart home routines when changing Wi-Fi?
No, you do not lose your custom routines, paired services, or voice match profiles when updating Wi-Fi. Those preferences are linked directly to your cloud Google Account rather than stored locally on the physical speaker.
Why does Google Home say could not communicate with your device
This error occurs when the speaker is still searching for an old, disconnected Wi-Fi network while your phone is already on a new one. Toggling your phone Bluetooth off and on or performing a quick physical reset resolves the communication timeout.
Does Google Home support 5 GHz Wi-Fi?
Yes, all modern Google Home and Google Nest speakers and smart displays support both 2.4 GHz and 5 GHz Wi-Fi frequencies. However, connecting to 2.4 GHz provides better signal range through interior walls.
The Bottom Line
Changing network credentials on a smart speaker should never feel like a chore. If you are replacing your entire network, matching your previous router SSID and password remains the quickest solution for your entire household. When you need to reconfigure an individual device, forgetting the old network through Device Information in the Google Home app takes under two minutes. For stubborn offline speakers, a 15-second hardware reset restores factory connectivity so you can enjoy streaming music and hands-free voice commands once again.