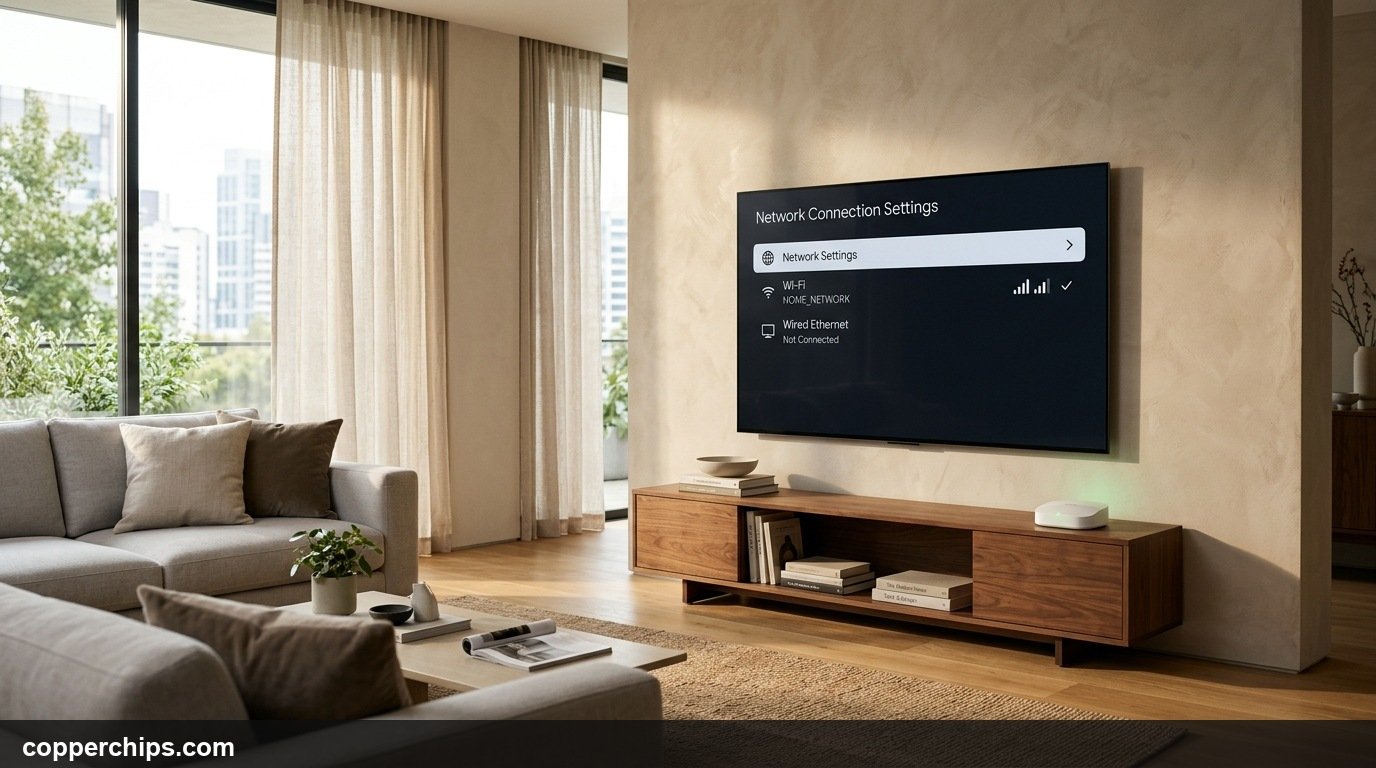
Setting up a new smart television or moving your screen to a different room should take less than three minutes. Yet countless viewers find themselves staring at a spinning network wheel, a “Network Disconnected” pop-up, or error codes that prevent Netflix, Prime Video, and YouTube from launching. Getting your television online requires matching the right connection method to your living room layout.
To connect your smart TV to the internet wirelessly, grab your remote, open Settings, navigate to Network (or General > Network on Samsung and LG, outlined in the Samsung Smart TV network connection support guide), select Wireless or Wi-Fi Connection, choose your home Wi-Fi name from the scan list, and type your wireless security password. For the most stable 4K HDR playback, plug an Ethernet cable directly from your router into the LAN port on the back of the television (see Sony Bravia wired LAN and Wi-Fi documentation); wired connections configure automatically without requiring passwords.
- vPlatform Differences: Samsung, LG, Roku (detailed in the Roku official network setup documentation), and Google TV use distinct menu hierarchies, but all locate network settings under either “General” or “Network & Internet”.
- vWired Advantage: Running an Ethernet cable eliminates Wi-Fi buffer pauses and interference from home walls and microwave ovens.
- v60-Second Power Cycle: Unplugging your TV from the wall socket for one minute flushes corrupted network memory that causes “Connected but no internet” bugs.
Method 1: Connect via Wireless Wi-Fi (By TV Brand)
Connecting wirelessly gives you clean wall mounting without stringing cables across baseboards. Because smart televisions run different operating systems, locate your specific brand below for exact button sequences.
1. Samsung Smart TV (Tizen OS)
Samsung televisions group network controls inside the General settings folder. Grab your Samsung OneRemote or standard infrared remote to begin.
- Press the Home button on your remote control to open the bottom smart hub bar.
- Scroll left and select Settings (represented by a gear icon), then choose All Settings.
- Navigate to Connection (or General & Privacy on newer 2023–2025 models) and select Network.
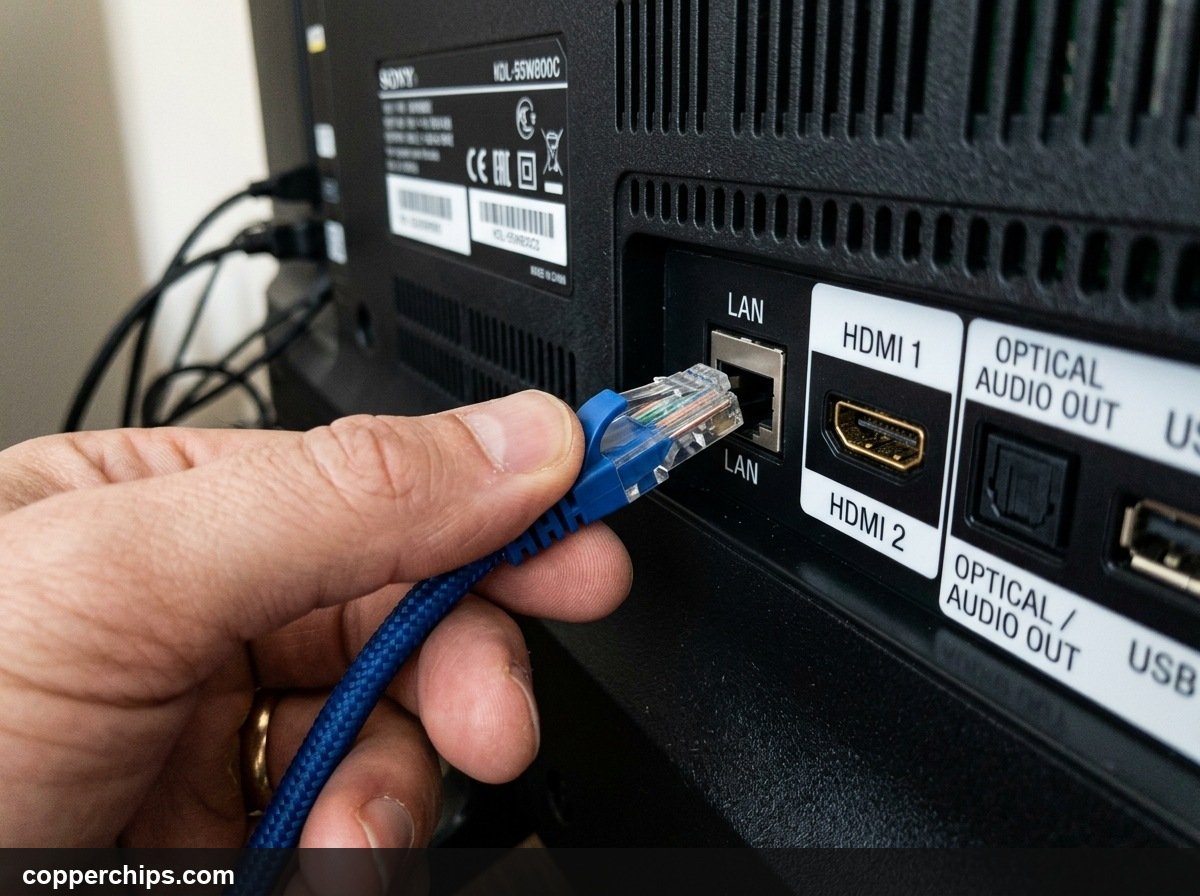
- Click Open Network Settings and select Wireless.
- Select your 5GHz or 2.4GHz Wi-Fi network from the detected list.
- Use the on-screen keyboard to enter your Wi-Fi password, then select Done. The screen will display a green checkmark confirming internet access.
2. LG Smart TV (webOS)
LG televisions feature a quick-access side settings ribbon. Ensure your Magic Remote pointer or navigation arrows are ready.
- Press the Settings (Gear) button on your remote to display the side launcher.
- Scroll down to the bottom icon and select All Settings (three vertical dots).
- Click on General in the left column, then select Network.
- Select Wi-Fi Connection. Ensure the Wi-Fi toggle switch is set to ON.
- Click on your home network name under the “Available Networks” header.
- Type your network security key and hit Enter or Connect.
3. Roku TV (TCL, Hisense, Onn, Sharp)
Roku TV features the most direct setup menu in the industry. This sequence applies to all integrated Roku televisions and standalone Roku Streaming Sticks.
- Press the Home button with the house icon on your purple Roku remote.
- Scroll down the left sidebar and choose Settings.
- Select Network, then click Set up connection.
- Choose Wireless. Your TV will automatically scan for broadcasting airwaves.
- Select your Wi-Fi network from the list. If your network is hidden, select “Private network”.
- Type your password using the directional pad, then select Connect. Roku will test your wireless signal and internet connection simultaneously.
4. Google TV & Sony Android TV
Modern Sony Bravia, Philips, and Hisense Google TVs use Android architecture.
- Press the Gear (Settings) button on your remote or navigate to your profile avatar in the top right corner.
- Select Settings, then click Network & Internet.
- Ensure the top Wi-Fi toggle is enabled.
- Scroll down to “Available networks” and choose your Wi-Fi name.
- Type your Wi-Fi password and submit. Once verified, the status will show “Connected”.
Method 2: Connect via Wired Ethernet Cable
A wired Ethernet connection provides the gold standard for high-bitrate streaming. If your wireless router sits near your entertainment center, connecting via a physical Cat6 cable completely bypasses Wi-Fi dead zones.
- Locate the RJ45 Ethernet port on the rear or side input panel of your television. It is labeled LAN or Ethernet.
- Plug one end of a Cat5e or Cat6 Ethernet cable into your TV LAN port until the plastic clip clicks firmly into place.
- Plug the other end into any open numbered LAN port (1 through 4) on the back of your home router.
- Power on your television. Most modern televisions detect the physical link immediately and disable the Wi-Fi card automatically.
- To confirm, open Settings > Network; the status will show “Wired Connection: Connected to Internet”.
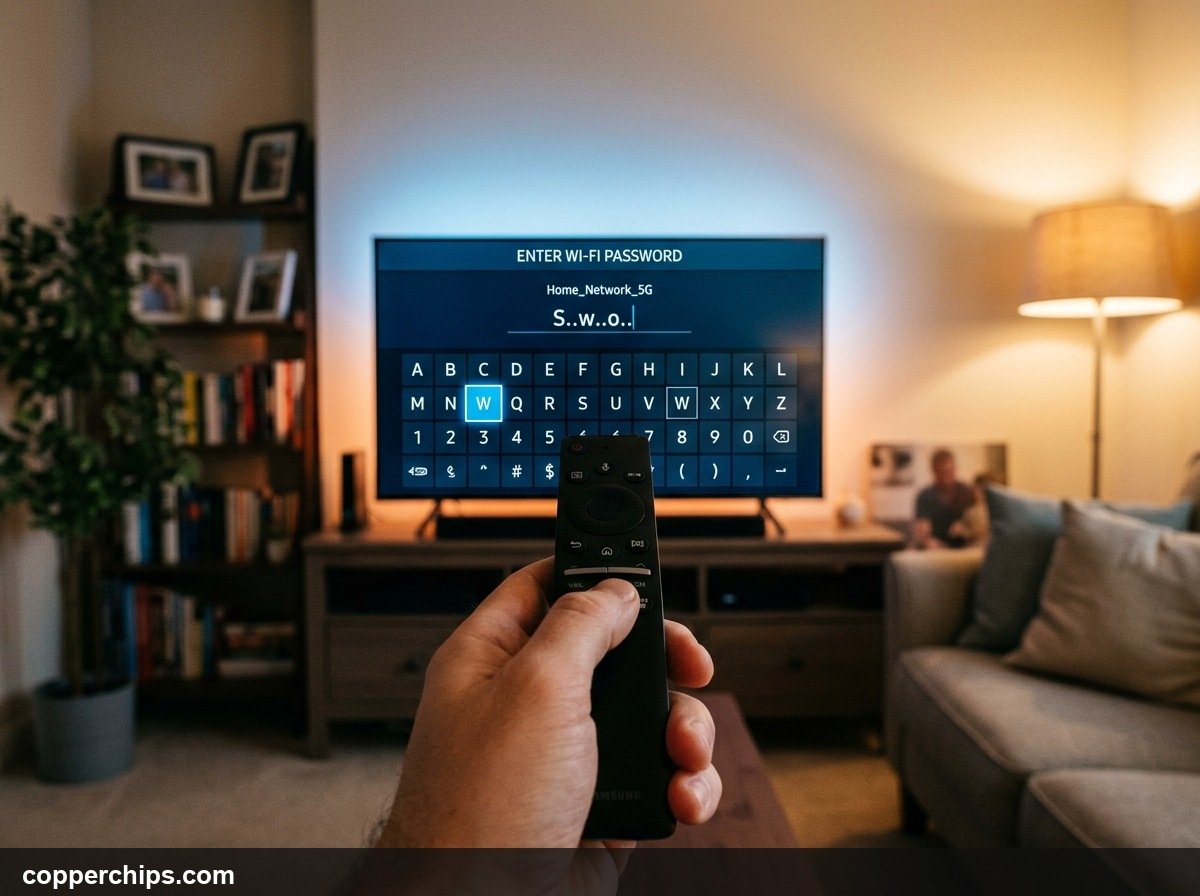
Smart TV Connection Comparison: Wi-Fi vs. Wired Ethernet
| Connection Type | Max TV Bandwidth | Stability & Jitter | Best For |
|---|---|---|---|
| Wired Ethernet (Cat6) | 100 Mbps (Fast Ethernet) | 100% stable, zero packet loss | 4K HDR streaming, cloud gaming, zero buffering |
| 5GHz Wi-Fi | 150 – 300+ Mbps | High speed, susceptible to solid walls | TVs in the same room as router without cables |
| 2.4GHz Wi-Fi | 40 – 70 Mbps | Wide range, prone to household interference | Distant bedrooms and basement setups |
Still Not Working? Top 4 Fixes for Smart TV Connection Drops
1. Perform a Cold Power Cycle on the TV
Pressing the power button on your remote control only puts the TV to sleep; it does not restart the operating system. When network drivers freeze, you must perform a cold boot.
- While the television is powered on, unplug the power cord directly from the wall socket.
- Press and hold the physical power button located on the bottom or back bezel of the TV chassis for fifteen seconds to drain residual capacitor power.
- Wait a full sixty seconds, then plug the power cord back into the wall.
- Power on the TV. This forces a clean operating system boot and flushes temporary DNS cache files.
2. Manually Set DNS to Google Public DNS
Default ISP domain name servers frequently fail to resolve video content delivery networks (CDNs). Changing your TV DNS server takes sixty seconds and solves ninety percent of streaming app playback errors.
- Open Settings > Network > Network Status on your TV.
- Select IP Settings (or Advanced Network Settings).
- Change DNS setting from Automatic (Get automatically) to Manual.
- Enter Primary DNS:
8.8.8.8and Secondary DNS:8.8.4.4(Google Public DNS). Alternatively, enter1.1.1.1(Cloudflare). - Save your changes and test your connection.
3. Split Your Router 2.4GHz and 5GHz Bands
Many Smart TV Wi-Fi chips cannot handle modern router band-steering technology. If your router broadcasts a single combined network name for both frequencies, the television Wi-Fi card may continually bounce between 2.4GHz and 5GHz, dropping the connection.
Log into your router admin console (via 192.168.1.1) and navigate to Wireless Settings. Disable “Smart Connect” or “Band Steering” and assign separate names to each band, such as Home_WiFi_2.4G and Home_WiFi_5G. Connect your smart TV explicitly to the 5GHz band if the router is nearby, or the 2.4GHz band if separated by multiple walls.
4. Synchronize System Date and Time
Secure streaming apps refuse to connect if your television system clock is incorrect. Streaming services like Netflix, Disney+, and Amazon Prime use SSL encryption certificates that validate against the current time.
Open Settings > System (or General) > Time & Date. If your TV clock displays an outdated year or incorrect hour, toggle off Automatic Time and set the correct date, time, and time zone manually. Once saved, relaunch your streaming apps.
Frequently Asked Questions
Why does my TV say “Connected, no internet”?
This message means your television has established a local wireless handshake with your router, but the router cannot reach the wider internet, or the TV DNS settings are misconfigured. Restart your home router first, then manually set your TV DNS server to 8.8.8.8.
Can I connect an older non-smart TV to the internet?
Yes. Any television with a standard HDMI port can be transformed into a smart television by plugging in an external streaming player, such as a Roku Streaming Stick, Amazon Fire TV Stick, Apple TV 4K, or Google Chromecast with Google TV.
Is Ethernet better than Wi-Fi for smart TVs?
Yes. Wired Ethernet provides superior connection consistency and zero interference, preventing buffering during high-bitrate 4K HDR movies and live sports. While modern Wi-Fi offers higher theoretical top speeds, Ethernet delivers rock-solid, uninterrupted bandwidth.
Why won’t my smart TV find my 5GHz Wi-Fi network?
Many budget smart TVs only contain single-band 2.4GHz Wi-Fi adapters to reduce manufacturing costs. If your television does not display your 5GHz network during scanning, it lacks a 5GHz radio chip and can only connect to 2.4GHz broadcasts.
The Bottom Line
Connecting your smart TV to the internet is straightforward once you know your operating system menu path. If you have the option, run an Ethernet cable to your entertainment console for completely buffer-free 4K playback. If you must use Wi-Fi, place your TV on the 5GHz band whenever possible and switch your DNS to Google Public DNS to stop app loading stalls.
For more smart device troubleshooting and home networking guides, explore our dedicated Smart Home hub, check our guide on how to restart your router properly, or read our step-by-step walkthrough if you encounter WiFi connected but no internet access across your home devices.