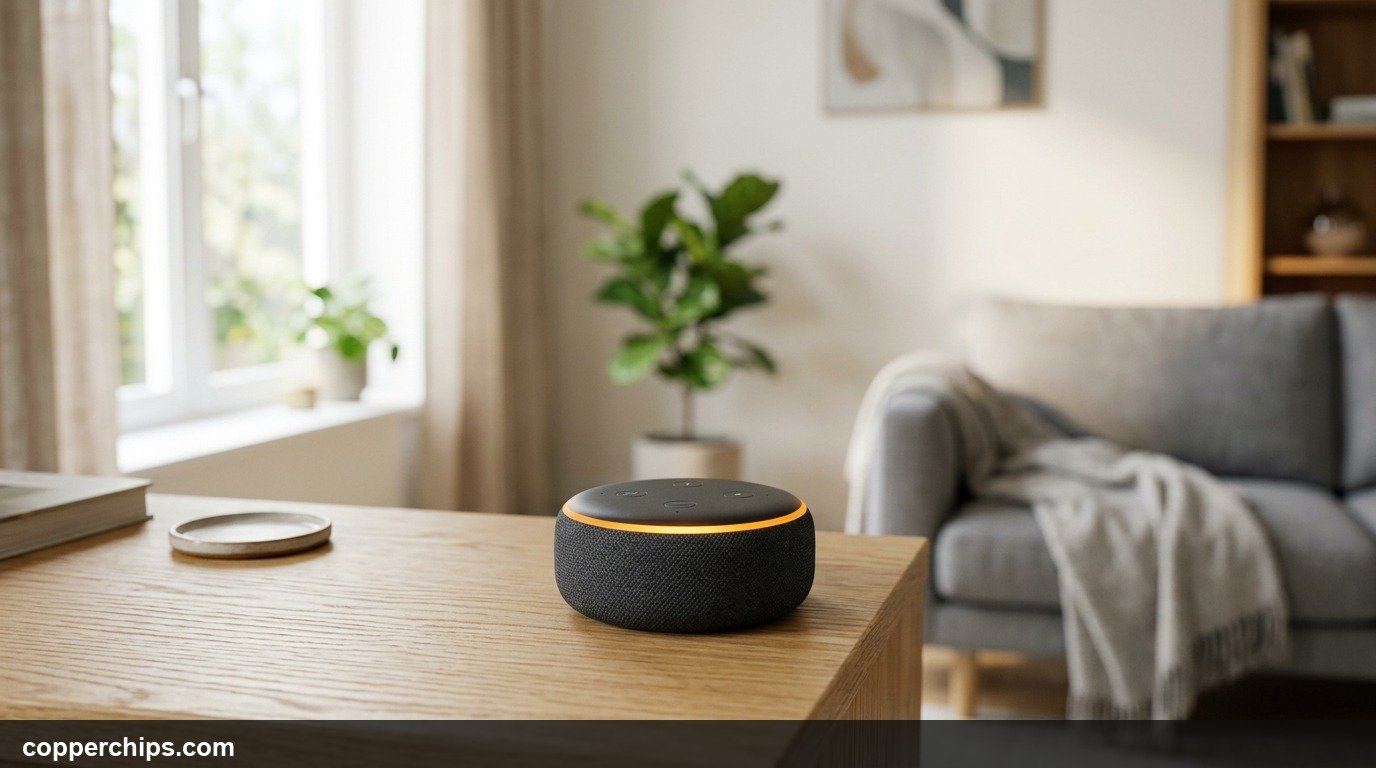
Few things disrupt a smart home routine faster than an Amazon Echo that suddenly refuses to communicate with your home network. You ask for morning headlines or request a timer, and Alexa responds with an unfamiliar chime followed by a frustrating automated announcement: “I am having trouble connecting to the internet. Please check the network settings in your Alexa app.” Meanwhile, an orange or purple light ring spins endlessly along the top bezel of your device.
When your Alexa device will not connect to Wi-Fi, the root cause is typically frequency band-steering interference on modern mesh routers or a stalled DHCP network lease. Echo speakers require a stable 2.4 GHz channel and frequently drop when unified routers attempt to force them onto 5 GHz bands. To fix this immediately, unplug both your router and Echo for 60 seconds. If connection errors persist, hold the circular Action button on your Echo for 20 to 25 seconds until the light ring turns orange, open the Alexa app, and re-enter your Wi-Fi credentials under a dedicated 2.4 GHz network name.
- vCore Problem: Modern dual-band routers combine 2.4 GHz and 5 GHz networks under one name, causing older Echo chipsets to drop authentication.
- vFastest Resolution: Power-cycle your modem and router first, then hold the Echo Action button for 20 seconds to enter orange setup mode.
- vNetwork Setting Check: Switch your Wi-Fi router encryption mode from WPA3-Only to WPA2/WPA3 Mixed mode in your gateway admin console.
Why Does Alexa Refuse to Connect to Wi-Fi?
Smart speakers rely on low-power wireless radios engineered for continuous standby listening rather than raw gigabit transfer speeds. When your Amazon Echo drops its connection or fails initial setup, the breakdown almost always relates to network protocol negotiation rather than a physical speaker defect.
According to the Amazon official Echo Wi-Fi setup and connection guide, Echo devices operate across 2.4 GHz and 5 GHz Wi-Fi frequencies (specifically 802.11a/b/g/n/ac). However, early generation hardware such as the Echo Dot 2nd and 3rd Generation lacks support for modern multi-gigabit mesh roaming standards. When a mesh router attempts to steer your Echo toward a 5 GHz node with weak wall penetration, the speaker drops packets and eventually times out.
Security protocol mismatches represent another widespread failure point. As outlined in the Wi-Fi Alliance WPA2 and WPA3 security standards documentation, recent routers enforce WPA3-Personal security by default. Many smart home accessories and older Echo models cannot complete the Simultaneous Authentication of Equals (SAE) handshake required by WPA3, rejecting the connection outright with an invalid password prompt.
Finally, stale network credentials stored in Amazon Wi-Fi simple setup lockers can feed outdated passwords to your device after router configuration changes. Addressing these layers methodically gets your Echo communicating with the cloud in minutes.
How to Fix Alexa Not Connecting to Wi-Fi: 7 Proven Solutions
Work through these solutions in sequence. They begin with fast power resets and progress to router frequency splitting and Amazon account cache purges.
Fix 1: Perform the Proper Hardware Power Cycle
Before modifying complex router settings or factory resetting smart speakers, clear volatile memory tables across both your Echo and network hardware. Static IP conflicts and stale DHCP leases frequently freeze smart home connections after power outages or router reboots.
Execute this sequence in exact order:
- Unplug the power cord from the back of your Amazon Echo speaker.
- Unplug the DC power adapter from your home Wi-Fi router and broadband modem.
- Wait a full 60 seconds to allow all internal capacitors to discharge completely.
- Plug your modem back in first and allow all front status indicator lights to turn solid green or blue.
- Plug your router back in and wait two full minutes until your home Wi-Fi network broadcasts normally. If you need step-by-step guidance on network restart sequence, consult our breakdown on how to restart your router.
- Plug your Amazon Echo back into the wall outlet.
Watch the LED ring on top of your Echo. The blue light ring will spin for roughly 45 seconds before extinguishing completely. If the light shuts off and remains dark, test the connection by asking Alexa for the current time. If an orange or purple ring reappears, proceed to Fix 2.
Fix 2: Place Echo in Setup Mode and Update Wi-Fi via Alexa App
If you recently updated your home Wi-Fi password or replaced your router hardware, your Echo device will continuously broadcast an error ring. The speaker cannot automatically prompt you for new credentials without entering setup mode.
Here is how to force setup mode and update credentials:
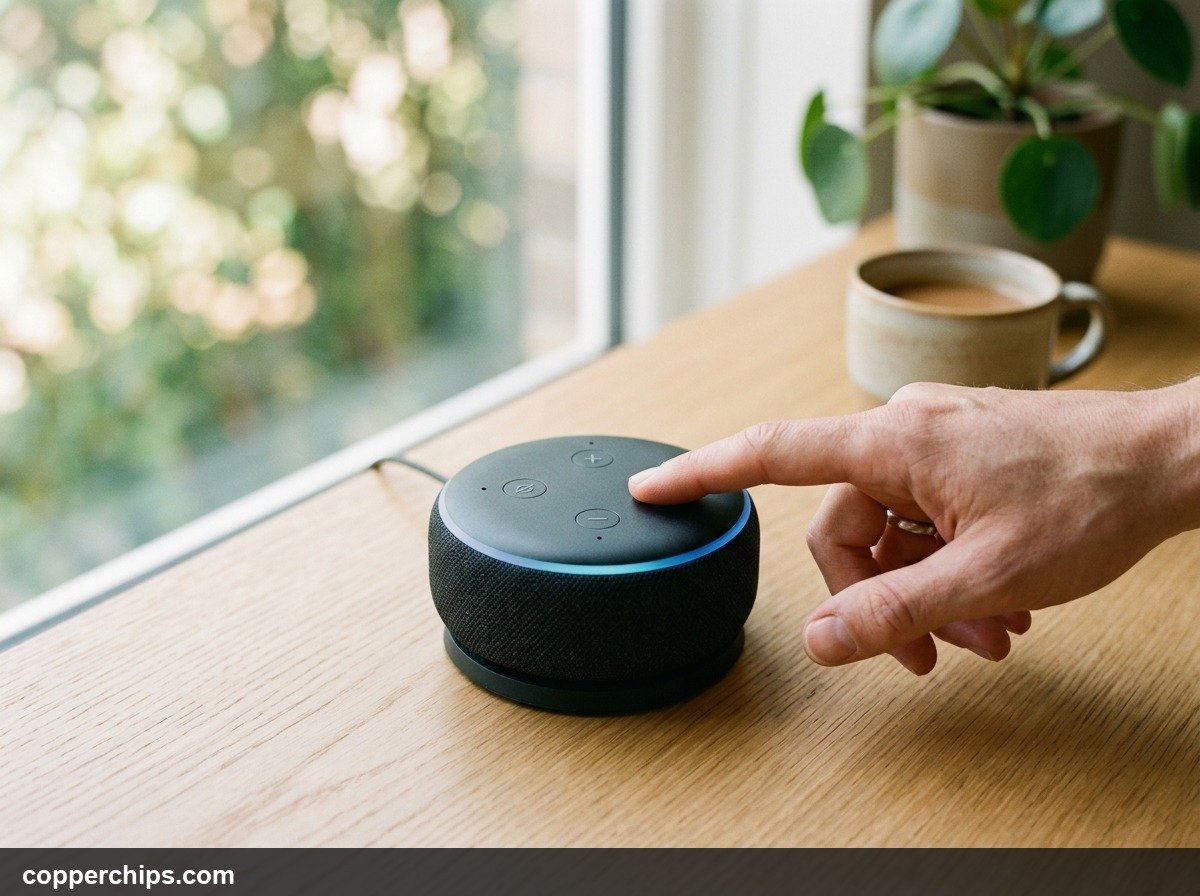
- Locate the Action button (the button with a single dot) on top of your Echo speaker.
- Press and hold the Action button for 20 to 25 seconds.
- Keep holding the button while the light ring cycles off and on. Release the button only when the ring turns solid orange.
- Alexa will speak through the speaker: “Now in setup mode. Follow the instructions in the Alexa app.”
- Open the Amazon Alexa app on your iPhone or Android smartphone.
- Tap Devices at the bottom of the screen, tap Echo & Alexa, and select your specific device.
- Tap the Settings gear icon in the upper-right corner.
- Tap Change next to the Wi-Fi Network heading and follow the on-screen prompts to join your current network.
If your smart home setup includes hardware from multiple ecosystems, our companion walkthrough on how to change Wi-Fi on Google Home explains how companion mobile apps manage network transfers across different voice platforms.
Fix 3: Connect to a Dedicated 2.4 GHz Wi-Fi Network
Dual-band Wi-Fi routers transmit across both 2.4 GHz and 5 GHz radio frequencies. The 5 GHz band delivers higher speeds at short range, while the 2.4 GHz band provides significantly greater wall penetration and range. Per FCC consumer wireless network frequency and performance guidance, residential walls and physical obstacles degrade higher radio frequencies rapidly.
Most modern mesh routers combine both frequencies under an identical network name (SSID) using a feature called Band Steering. While smartphones transition smoothly between bands, smart speakers lack sophisticated roaming logic. When your router attempts to bump your Echo to 5 GHz, the speaker often loses signal and disconnects.
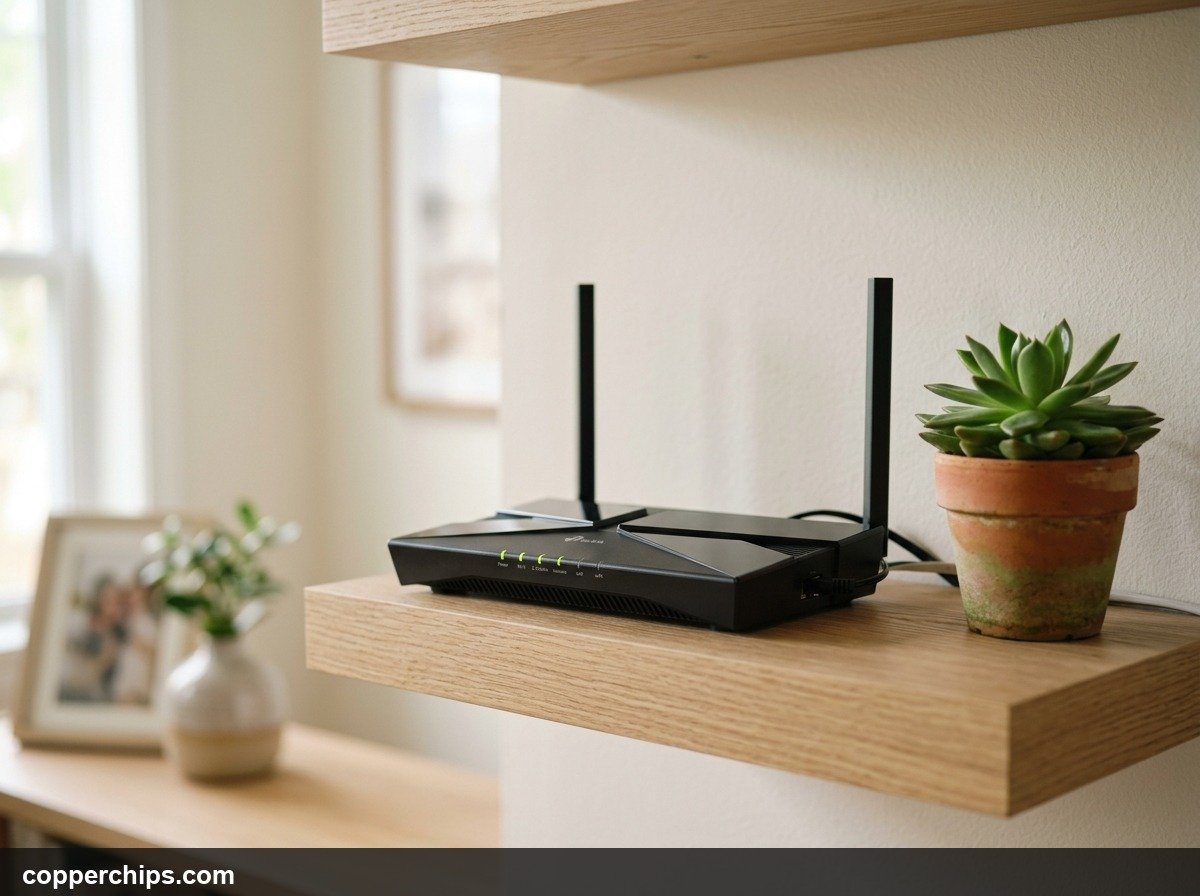
Resolve band-steering conflicts with these adjustments:
- Log into your router admin dashboard via web browser (typically
192.168.1.1or192.168.0.1). - Navigate to Wireless Settings or Advanced Wi-Fi.
- Locate Smart Connect or Band Steering and toggle the setting to Disabled.
- Assign distinct names to both frequencies (for example,
HomeNetwork_2.4GandHomeNetwork_5G). - Save your changes and allow the router to reboot.
- Put your Echo into setup mode and connect it exclusively to the
HomeNetwork_2.4Gnetwork.
Assigning your Echo to a dedicated 2.4 GHz band ensures a stable, unshakeable connection that ignores mesh roaming requests. This simple change eliminates intermittent midnight disconnects permanently.
Fix 4: Switch Router Security from WPA3-Only to WPA2/WPA3 Mixed
WPA3 is the newest wireless security standard, designed to replace aging WPA2 protocols. While newer laptops and smartphones adopt WPA3 easily, smart home hardware manufactured prior to 2022 frequently crashes during the WPA3 handshake process.
If your router recently received an automatic firmware upgrade, your security mode may have shifted from standard WPA2-AES to WPA3-Personal.
Check and adjust security settings with these steps:
- Access your wireless router administration console through your browser or mobile admin app.
- Open the Wireless Security configuration page.
- Locate the Security Mode or Authentication Method dropdown for your 2.4 GHz band.
- If the setting reads WPA3-Personal or WPA3-Enterprise, click the dropdown menu.
- Select WPA2/WPA3 Mixed (AES) or WPA2-PSK (AES).
- Ensure TKIP encryption is completely disabled, as legacy TKIP caps wireless speeds at 54 Mbps.
- Apply settings and reboot your router.
Once your network accepts WPA2 authentication again, power-cycle your Amazon Echo. The speaker will authenticate against your router without throwing invalid security errors.
Fix 5: Clear Saved Amazon Wi-Fi Passwords (Wi-Fi Locker)
Amazon offers a convenience feature called Wi-Fi Simple Setup. When enabled, Amazon saves your home Wi-Fi network name and password to an encrypted cloud locker associated with your Amazon account. When you purchase a new Echo or Fire TV stick, the device reads your credentials automatically from your account locker.
However, if you recently changed your router password, Amazon cloud services may continually push obsolete passwords to your Echo during setup attempts, creating an endless authorization loop.
Delete outdated credentials from your Amazon account:
- Visit Amazon.com in a web browser and sign into your account.
- Hover over Accounts & Lists and click Content and Devices.
- Click the Preferences tab along the top navigation ribbon.
- Scroll down to the Saved Wi-Fi Passwords section.
- Click Delete next to your saved Wi-Fi credentials.
- Confirm the prompt to erase all stored network keys from Amazon servers.
Deleting stored credentials forces the Alexa app to accept manual password entry during setup. This guarantees that your Echo attempts connection using your actual current network password rather than stale cloud data.
Fix 6: Eliminate Physical Distance and Radio Interference
Smart speakers placed on kitchen countertops or entertainment consoles frequently battle localized radio frequency interference. Microwaves, baby monitors, cordless landline phones, and dense metal surfaces operate across the exact same 2.4 GHz frequency band used by Wi-Fi.
Evaluate your speaker physical environment with these guidelines:
- Maintain Router Proximity: Keep your Echo between 10 and 30 feet from your wireless router. Placing the speaker less than 3 feet from the router can oversaturate the receiver, while distances beyond 35 feet through multiple walls cause packet loss.
- Clear Metal Obstructions: Never place your Echo inside metal entertainment cabinets, directly behind large flat-screen televisions, or underneath metal desks. Metal acts as an effective radio shield.
- Keep Clear of Appliances: Relocate the speaker at least 6 feet away from microwave ovens, wireless baby monitors, and large metal refrigerators. Running a microwave oven can drown out 2.4 GHz Wi-Fi signals entirely.
- Check Elevation: Place the speaker on an open shelf or tabletop at least 3 feet off the floor. Placing smart speakers on low floorboards increases signal dampening through carpet and subflooring.
If your entire household suffers from random wireless disconnects across phones and laptops as well, review our diagnostic guide on Wi-Fi connected but no internet access fixes to isolate ISP line outages from local equipment faults.
Fix 7: Complete a Full Factory Reset by Echo Generation
When software configuration updates fail to restore connectivity, corrupt internal firmware caches must be erased. A full factory reset restores your Echo hardware to original factory defaults, erasing corrupted network routing tables and pairing profiles.
Factory reset procedures vary depending on the specific model and generation of your Amazon hardware:
- Echo Dot 2nd Generation: Locate the physical microphone off and volume down buttons. Press and hold both buttons simultaneously for 20 seconds until the light ring turns orange, then briefly blue.
- Echo Dot 3rd & 4th Generation: Press and hold the circular Action button for 25 seconds. The light ring will pulse orange, turn off, and then turn orange again to confirm successful reset.
- Echo Dot 5th Generation & Echo Pop: Press and hold the Volume Down and Microphone Off buttons simultaneously for 20 seconds until the light ring cycles off and back on.
- Echo Show (with Touchscreen): Swipe down from the top of the display, tap Settings > Device Options, and select Reset to Factory Defaults. If the screen is unresponsive, press and hold both the Mute and Volume Down buttons on the top housing for 15 seconds until the Amazon logo appears.
- Echo Plus (1st & 2nd Gen): Use a paperclip to press the recessed reset pinhole button on the bottom panel for 8 seconds, or hold the Action button for 20 seconds on 2nd Gen units.
After completing the reset, leave the device plugged in for two minutes. Once the orange setup ring begins rotating steadily, open the Alexa app on your smartphone, tap the plus icon in the upper right, and complete fresh device enrollment.
Still Not Working? Try This
If your Amazon Echo continues to display connection errors after trying all seven solutions, test the speaker using a mobile hotspot. This diagnostic step determines whether the hardware radio inside your speaker has failed or if your home network router is actively blocking the device.
Enable the Personal Hotspot feature on your smartphone (or use a friend’s phone as a hotspot). Ensure the hotspot is set to broadcast at 2.4 GHz or enable “Maximize Compatibility” on iOS. Open the Alexa app on a second device, put your Echo into setup mode, and connect the speaker to your mobile hotspot.
If your Echo connects to the cellular hotspot without hesitation, your speaker hardware is in perfect working order. The failure is entirely due to a firewall setting, MAC address filter, or parental control block active inside your primary home router.
Check your home router administration dashboard for these security settings:
- MAC Address Filtering: Confirm that MAC filtering is disabled or add your Echo MAC address (printed on the bottom box label or device underside) to your router whitelist.
- Parental Controls & Access Schedules: Verify that an automated profile has not placed the speaker on a scheduled bedtime block.
- AP Isolation (Client Isolation): Disable AP Isolation in your router wireless configuration. When active, this feature prevents connected Wi-Fi devices from discovering or talking to each other, breaking Alexa companion app pairing.
If your Echo refuses to connect even to a clean mobile hotspot with zero security filters, the internal Wi-Fi controller on the speaker board has suffered a physical hardware failure. Contact Amazon Customer Support to verify warranty status and request an equipment replacement.
Frequently Asked Questions
What does the orange spinning light mean on Alexa?
An orange spinning light ring indicates that your Echo device is currently in setup mode or attempting to establish a connection to your local Wi-Fi network. If setup does not complete within ten minutes, the light turns purple to indicate an active network connection error.
Why does Alexa keep losing Wi-Fi connection overnight?
Overnight disconnects are almost always caused by router band steering or automated channel hopping. When your router switches Wi-Fi broadcast channels at night to avoid neighborhood congestion, older Echo models fail to track the new channel. Assigning your Echo a static IP address and locking your 2.4 GHz band to fixed channels 1, 6, or 11 eliminates overnight drops.
Can Alexa connect to 5 GHz Wi-Fi networks?
Most Amazon Echo devices from the 2nd Generation onward support 5 GHz Wi-Fi networks (specifically 802.11a/n/ac). However, 5 GHz signals degrade significantly through walls and floors. If your speaker sits more than 20 feet or two walls away from your router, connecting to 2.4 GHz provides much greater stability.
Why won’t the Alexa app find my Echo during setup?
The Alexa app uses Bluetooth and local Wi-Fi to detect nearby Echo hardware during setup. Ensure Bluetooth is enabled on your phone and grant the Alexa app Local Network permissions in your phone settings. If setup still hangs, toggle Airplane mode on your phone for ten seconds to clear the discovery cache.
Does changing my Wi-Fi password reset my Alexa smart home routines?
No. Changing your Wi-Fi network credentials or updating connection settings on your Echo will not erase your voice history, paired smart plugs, or automated routines. Your smart home configurations reside securely in your Amazon cloud account, not on local speaker storage.
The Bottom Line
An Amazon Echo that refuses to connect to Wi-Fi rarely indicates that your speaker needs to be thrown in the trash. In the vast majority of cases, connection failures stem from unified mesh band-steering confusion, outdated WPA3 security handshakes, or stale credentials stored in Amazon Wi-Fi lockers.
Start with a clean 60-second power cycle of both your network gear and Echo hardware. If the orange ring returns, split your wireless router bands and connect your speaker directly to a dedicated 2.4 GHz channel using WPA2 security. For additional step-by-step solutions covering other home connectivity gear, explore our companion guides on how to restart your router and smart display setups.