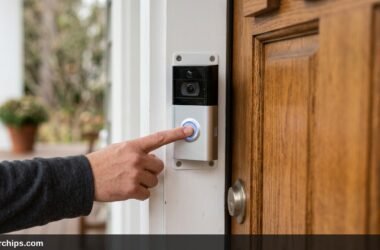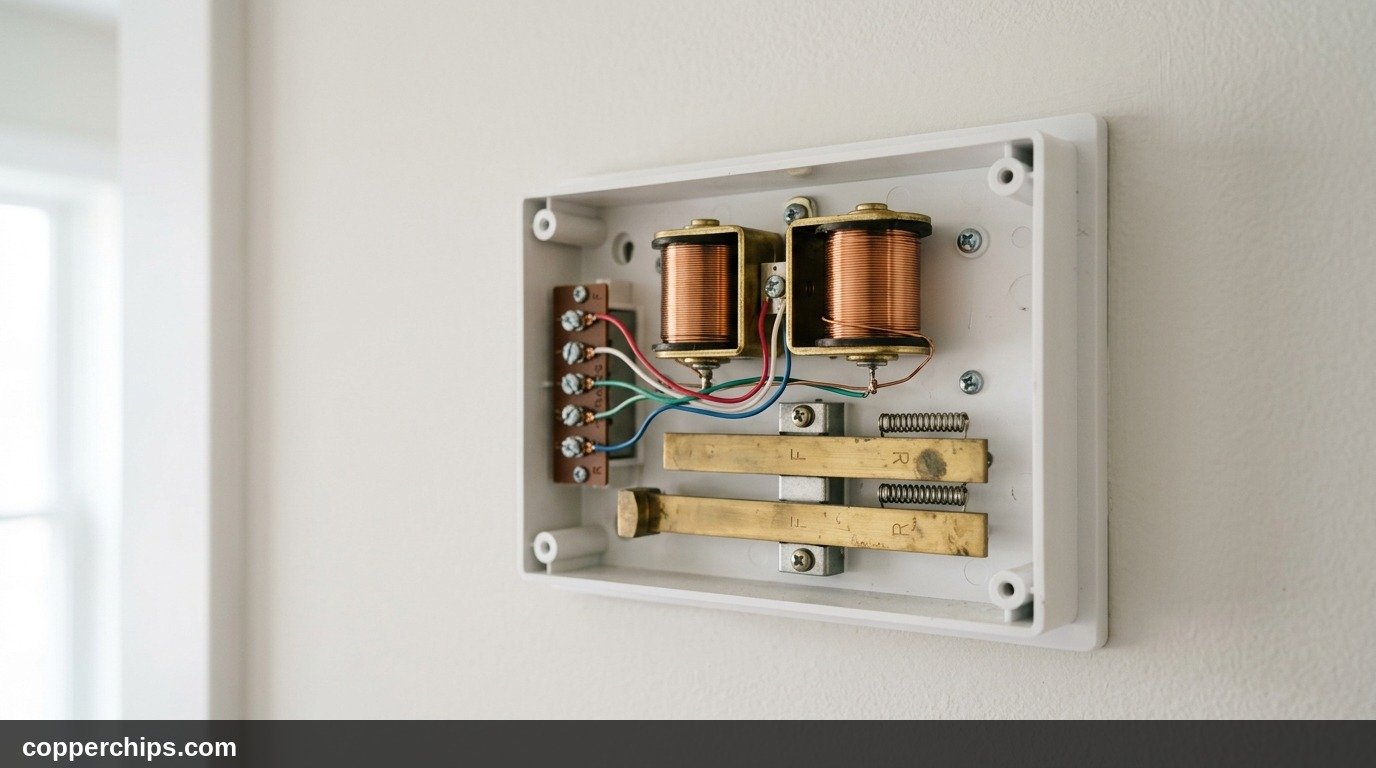
You wire your new video doorbell, tighten the faceplate, tap the button on your porch, and your phone chimes instantly. Inside your hallway, however, you hear absolute silence. When dealing with a ring doorbell mechanical chime not working, hearing your mobile notification without your home tone bar striking is a common frustration. A traditional mechanical chime relies on physical magnetic solenoids that strike brass tone bars, and smart doorbells alter that electrical circuit dramatically.
Most mechanical chime failures are not caused by defective doorbells. They happen because video doorbells draw continuous power to run cameras and Wi-Fi radios. That constant current draw can starve older transformers or confuse default app settings. In this guide, you will learn the exact steps to restore your physical mechanical chime across every Ring doorbell generation.
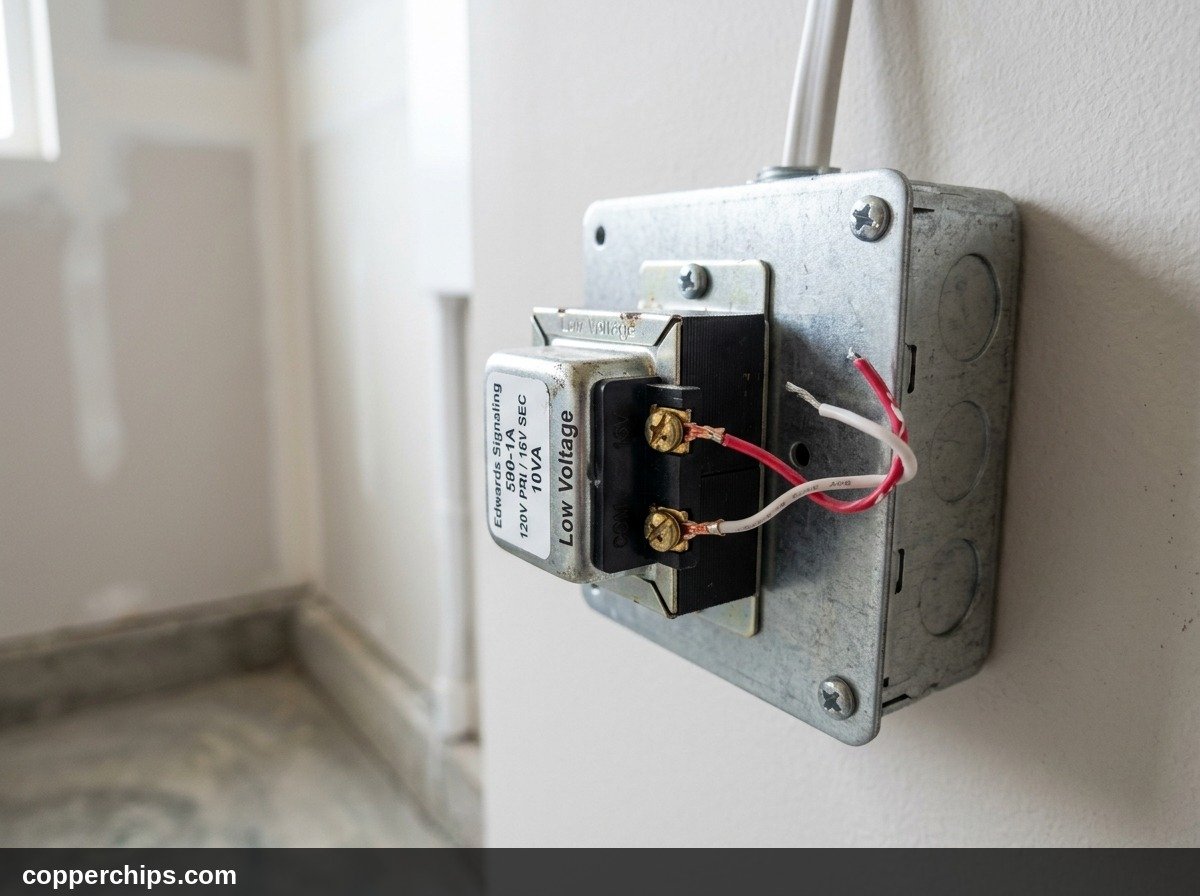
When your mechanical chime fails to strike, first open the Ring app, go to Device Settings, select In-Home Chime Settings, and verify that the Chime Type is set to Mechanical with Ring my in-home chime toggled ON. Next, verify your doorbell transformer rating. Older 16V 10VA transformers produce voltage sag when the doorbell button closes, leaving inadequate current to throw the magnetic plunger. Upgrading to a 16V 30VA transformer and checking Pro Power Kit wiring on the FRONT and TRANS terminals resolves over 90 percent of chime failures.
- ✓App Configuration Default: Ring app updates often default the internal chime setting to None or Digital, disabling the mechanical trigger signal entirely.
- ✓Transformer VA Rating: A 10VA transformer lacks the instantaneous volt-ampere capacity needed to power both an HD video stream and fire a physical solenoid.
- ✓Pro Power Kit Role: Ring Pro models require the power kit wired in parallel across FRONT and TRANS to bypass idle camera current around the coils.
Why Your Mechanical Chime Won’t Ring with Ring: 5 Hardware Realities
Traditional mechanical doorbells are delightfully simple machines. When someone presses an old push button, they complete a low-voltage electrical circuit between a step-down transformer and an electromagnetic coil.
That electrical burst pulls a magnetic metal plunger upward against a spring, striking a tuned metal bar with a crisp ding sound. When the button is released, the spring throws the plunger downward to strike the dong bar. Video doorbells introduce complex micro-electronics into this circuit that can disrupt normal operation:
- Continuous Parasitic Current Draw: An old doorbell button was a simple open switch that consumed zero power when resting. A Ring doorbell requires continuous 16V to 24V AC power to run its camera, infrared night lights, and Wi-Fi transmitter. Without proper regulation, this trickle current can cause solenoids to hum, freeze, or fail to fire.
- Transformer Voltage Collapse Under Load: Most builder-grade residential transformers are rated at 16V 10VA (Volt-Amps). While 10VA produces sufficient open-circuit voltage, the instant the doorbell attempts to throw the heavy brass solenoid, the voltage sags below 10 volts, preventing a physical strike.
- Software Chime Relay Disconnection: Ring devices use an internal solid-state switch or electronic triac to trigger your home chime. If the Ring mobile app has not been told to close this switch, pressing the button only sends a push notification to your phone.
- Miswired or Missing Pro Power Kit: Ring Video Doorbell Pro and Pro 2 models mandate the installation of a small wire module called the Pro Power Kit inside the chime box. If wired incorrectly, the doorbell resets itself whenever pressed instead of ringing the chime.
- Mechanical Plunger Stiction and Dirt: Older chime boxes accumulate dust, cobwebs, and airborne grease over decades. Solenoid plungers with sticky residue need maximum electrical force to move. An underpowered smart doorbell circuit cannot overcome this mechanical resistance.
Reviewing installation guidelines from the Ring Official Low-Voltage Transformer Wiring Guide confirms that video doorbells require steady AC current without high impedance bottlenecks.
How to Fix Ring Doorbell Mechanical Chime: 7 Solutions
Work through these solutions methodically. We begin with quick app configuration toggles before moving into transformer voltage checks and terminal wiring repairs.
Fix 1: Enable In-Home Chime and Select Mechanical in App Settings
Configure your Ring app to recognize and activate your physical chime box. During initial setup, the Ring setup wizard sometimes skips physical chime selection or defaults to None.
If the app is set to Digital or None, your Ring doorbell will never close its internal circuit to fire the physical tone bar.
- Open the Ring app on your mobile phone or tablet.
- Tap the three horizontal lines in the top left corner to open the main menu.
- Tap on Devices, then select your Ring Video Doorbell.
- Tap the Device Settings gear tile.
- Select In-Home Chime Settings.
- Tap on Advanced Settings.
- Under Chime Type, select Mechanical.
- Verify that the toggle for Ring my in-home chime is switched to the active ON position.
- Tap Save in the upper right corner and test the physical doorbell button outside.
If your app offers an Automatic Chime Detection feature, run the tool. The doorbell will send three test pulses through your chime to measure circuit resistance and automatically calibrate the solenoid pulse duration.
Fix 2: Upgrade Your Doorbell Transformer to 16V 30VA
Replace your old doorbell transformer with a modern 16V 30VA unit. Underpowered transformers cause more mechanical chime failures than any other factor.
Homes built before video doorbells typically feature 16V 10VA or 10V 5VA transformers. While a multimeter might show 16 volts when the system is resting, the transformer cannot supply the sudden 1.8 amp burst required to throw both plungers while simultaneously powering the camera.
- Locate your doorbell transformer. Common mounting locations include your main electrical breaker panel, basement joists, utility closets, or the garage ceiling.
- Turn off power to the transformer circuit at your main home breaker box.
- Inspect the metal casing stamp for its electrical specifications (look for numbers like 16V 10VA or 16V 30VA).
- If the rating is 10VA or 15VA, disconnect the two low-voltage bell wires from the screw terminals.
- Install a modern 16V 30VA transformer (brands like Maxdot, NuTone, or Honeywell work reliably).
- Secure the ground, neutral, and line voltage wires inside the electrical junction box.
- Attach the two low-voltage bell wires to the new secondary terminals.
- Restore breaker power and test the chime.
Consult professional advice from Electrical Safety First Home Low-Voltage Wiring Standards if you are unfamiliar with working around mains voltage breaker boxes.
Fix 3: Verify Pro Power Kit Wiring Across FRONT and TRANS Terminals
Confirm that the Ring Pro Power Kit is wired correctly inside the chime box. Ring Video Doorbell Pro, Pro 2, and Wired models require this bypass module to isolate idle current away from the chime coils.
Without the power kit installed, the chime solenoids will buzz constantly, overheat, and fail to strike when pressed.
- Turn off power to your doorbell transformer at the breaker box for safety.
- Carefully pull the decorative plastic or wooden cover straight off your wall chime box.
- Locate the three screw terminals labeled FRONT, TRANS, and REAR.
- Loosen the screw on the FRONT terminal.
- Attach one wire lead from the Ring Pro Power Kit alongside your existing doorbell wire under the FRONT screw and tighten it down firmly.
- Loosen the screw on the TRANS (Transformer) terminal.
- Attach the second wire lead from the Pro Power Kit alongside the transformer wire under the TRANS screw and tighten it down.
- Ensure no stray bare copper strands touch the metal tone bars or adjacent terminals.
- Tuck the small black power module neatly into the empty housing space and replace the cover.
Step-by-step illustrations in the Ring Official Pro Power Kit Documentation show proper wire loop routing for both two-wire and three-wire multi-door layouts.
Fix 4: Clean and Free the Mechanical Solenoid Plungers
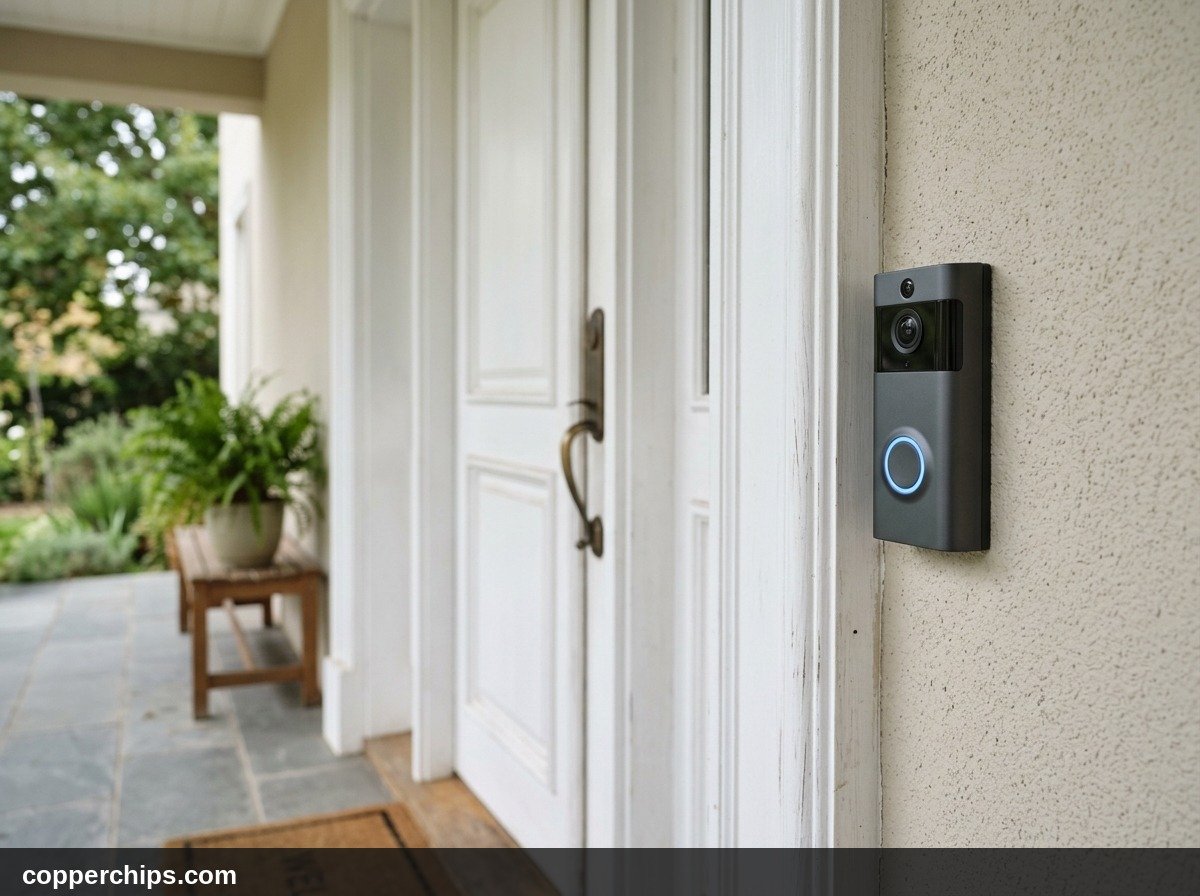
Clean old dust, varnish, and sticky residue from the physical plunger shafts. Mechanical doorbells rely on precision bronze or steel pins that slide through hollow electromagnetic coils.
Over years of use, dust mixes with environmental moisture to form a sticky film. Even with adequate electrical power, the magnetic field cannot pull the plunger quickly enough to ring the tone bar.
- Remove the chime box cover to expose the coils and metal striker pins.
- Gently press each plunger inward with your fingertip. It should move freely against its return spring and snap back instantly when released.
- If the plunger feels sluggish or sticky, dip a cotton swab in isopropyl alcohol (90 percent or higher).
- Clean the exposed shaft and wipe the lip of the coil sleeve thoroughly.
- Inspect the small conical return spring for bending, kinking, or rust.
- Ensure the two horizontal brass or steel tone bars are sitting squarely on their rubber dampener grommets.
Fix 5: Tighten Terminal Screws and Wire Connections at the Doorbell
Ensure the low-voltage copper wires behind the Ring doorbell make tight, clean electrical contact. Loose terminal screws introduce electrical resistance that drops voltage right before it reaches the doorbell.
If you recently mounted your doorbell on an uneven brick or stucco wall, the backplate can flex, loosening the screw terminals.
- Loosen the security screw on the bottom of your Ring doorbell using the included star-shaped screwdriver.
- Remove the doorbell faceplate and unscrew the mounting screws holding the unit to your door frame.
- Inspect the two brass screw terminals on the back of the device.
- Verify that the low-voltage wires (typically 18 to 22 AWG copper) are wrapped cleanly around each terminal post clockwise.
- Tighten both terminal screws firmly with a standard screwdriver.
- Check that no bare copper is touching the opposite terminal or metal siding, which creates a continuous short circuit.
- Remount the doorbell securely to the bracket.
If your doorbell still exhibits silent operation outside on the porch, read our detailed troubleshooting guide on why is my ring doorbell not ringing for push-button microswitch diagnostics.
Fix 6: Disable Conflicting Alexa Doorbell Announcements
Temporarily turn off Amazon Alexa Doorbell Press Announcements in the Alexa app. When Amazon Alexa devices are linked to your Ring account, an incoming ring triggers simultaneous cloud commands across your Echo smart speakers.
In certain router network configurations, cloud communication timeouts can introduce software race conditions that interfere with the local electronic relay closing in time to fire the chime.
- Open the Amazon Alexa app on your mobile phone.
- Tap on Devices at the bottom of the screen.
- Tap on Cameras and select your Ring Doorbell.
- Tap the Settings gear in the upper right corner.
- Find the toggle for Doorbell Press Announcements and switch it to Off.
- Walk outside and press the physical doorbell button.
- If your mechanical chime strikes cleanly, re-enable the Alexa toggle after 24 hours once local cache files refresh.
Fix 7: Test with the Manual Jumper Wire Bypass
Perform a momentary manual circuit test inside the chime box to prove whether the hardware works. This test isolates your mechanical chime and transformer from the Ring doorbell entirely.
If the chime rings during this test, your transformer and chime box are working properly, and the fault lies entirely within your Ring settings or wiring.
- Remove the chime box cover to view the terminal block.
- Take a small piece of insulated copper wire with both ends stripped half an inch (a bent metal paperclip also works).
- Touch one end of the wire to the FRONT terminal screw.
- Momentarily touch the other end to the TRANS terminal screw for half a second, then pull it away immediately.
- Observe the chime:
- If the chime strikes loud and clear: Your transformer, chime coil, and return springs are working properly. The issue is Ring app chime configuration or a wiring fault at the front door.
- If the plunger barely moves or produces a weak buzz: Your transformer is underpowered (needs 16V 30VA upgrade) or the solenoid is mechanically jammed.
- If nothing happens at all: Your transformer has blown its internal fuse or has zero electrical power.
If you also have security cameras in your smart home network dropping off, consult our troubleshooting guide on why won’t my blink camera connect to wifi for router band-steering solutions.
Doorbell Transformer Voltage and Power Matrix
Choosing the correct transformer rating is essential for powering video doorbells alongside physical mechanical chimes. Use this specification table to determine if your current transformer needs replacement:
| Transformer Rating | Max Amperage | Video Doorbell Support | Mechanical Chime Behavior | Verdict |
|---|---|---|---|---|
| 10V 5VA | 0.50 Amps | Fails to boot | Dead (Zero movement) | Incompatible (Replace) |
| 16V 10VA | 0.62 Amps | Partial / Resets on press | Weak click or silent | Underpowered (Upgrade) |
| 16V 30VA | 1.87 Amps | Full 1080p HDR + Wi-Fi | Strong, crisp Ding-Dong strike | Recommended Standard |
| 24V 40VA | 1.66 Amps | Full support across all models | Crisp strike (Heavy-duty coils) | Ideal for long wire runs |
Still Not Working? Try This
If you have upgraded your transformer to 16V 30VA, confirmed your Ring app is set to Mechanical, and your manual bypass test fails to move the plungers, you have an internal open circuit or broken low-voltage bell wire.
Consider these hardware escalation paths:
- Check Bell Wire Continuity with a Multimeter: Rodents, drywall nails, or age can sever the thin 20 AWG bell wires running through your walls. Set your multimeter to AC Voltage. Touch the probes to the two wires at your front door. If you read zero volts, your wiring has an open break between the transformer and the porch.
- Install a Wireless Ring Chime Plug-In Unit: If running new in-wall wiring through finished walls is impractical, bypass your home wiring entirely. A wireless Ring Chime plugs into any standard hallway AC wall outlet, links over Wi-Fi to your doorbell in sixty seconds, and provides loud indoor audible alerts with custom tones.
- Replace the Mechanical Chime Box Unit: Solenoid coils can degrade over decades of electrical surges. A brand-new replacement mechanical two-tone chime box costs under twenty-five dollars at home improvement stores and screws into your existing wall anchors in minutes.
Browse our complete catalog of home automation guides in the Smart Home troubleshooting hub for doorbell and sensor connectivity tips.
Frequently Asked Questions
Why does my mechanical chime buzz constantly after installing Ring?
Continuous humming or buzzing happens when idle current drawn by the Ring camera trickles through the mechanical solenoid coil. On Ring Pro doorbells, installing the included Pro Power Kit across the FRONT and TRANS terminals bypasses this trickle current around the coil, silencing the hum.
Do I need a Pro Power Kit for all Ring models?
No. The Pro Power Kit is mandatory for Ring Video Doorbell Pro and Pro 2 models. Battery-powered Ring doorbells (like the Ring Video Doorbell 2, 3, 4, or Battery Doorbell Plus) connected to existing wiring do not require a Pro Power Kit to ring mechanical chimes.
Can I use a 24V transformer on a mechanical chime?
Yes, provided your mechanical chime is rated for 16V to 24V AC. Most modern mechanical chimes operate safely on 24V 40VA transformers, which are especially helpful for eliminating voltage drop over long wire runs in large two-story homes.
Why does my Ring doorbell restart every time someone presses the button?
This indicates severe transformer voltage collapse. When the button is pressed, the mechanical chime solenoid draws maximum current. If the transformer cannot provide enough power, the circuit voltage drops below the doorbell’s minimum operating threshold, causing the camera to crash and reboot.
How do I know if my chime is mechanical or digital?
Remove the cover from your indoor chime box. If you see physical metal plungers that strike tuned metal bars with a physical ding-dong sound, your chime is mechanical. If you see a small electronic circuit board and a paper cone speaker that plays musical chime melodies, your chime is digital.
The Bottom Line
A Ring doorbell that alerts your phone while leaving your hallway chime silent is almost always caused by an in-app chime configuration mismatch or an underpowered 10VA transformer. Video doorbells demand steady current that older builder-grade transformers simply cannot deliver during a physical strike.
Start by verifying that your Ring app has In-Home Chime set to Mechanical with in-home ringing toggled on. If the setting is correct but the tone bar still refuses to strike, upgrade your low-voltage transformer to a 16V 30VA unit. By providing adequate volt-amperes to your doorbell circuit, you will restore crisp, loud physical chime strikes every time a visitor arrives at your porch.